
21 Christmas Lettering Art Ideas (fun and festive!)
Here are some fun and festive ways you can use brush lettering to create Christmas themed art this holiday season!
No matter your skill level, you’ll find something here to inspire you to get out your brush pens and make something Christmasy.
Merry and bright Christmas calligraphy

Supplies used for this artwork:
“Merry and bright” is a common phrase around this time of year and a fun one to write in calligraphy.
But here a few ways to make it look extra special!
- Add dimension by going over the thin upstrokes with a darker color
- Draw dots or snowflakes on the letters with a white gel pen
- Scatter stars around the phrase with a silver pen
Candy cane lettering

Making your brush lettering look like it’s made of candy canes is a little time consuming.
But it’s totally worth it – because just look how fun and festive it is!
This is something you’ve got to try with your lettering this holiday season.
You’ll just need some markers in two shades of gray and two shades of red.
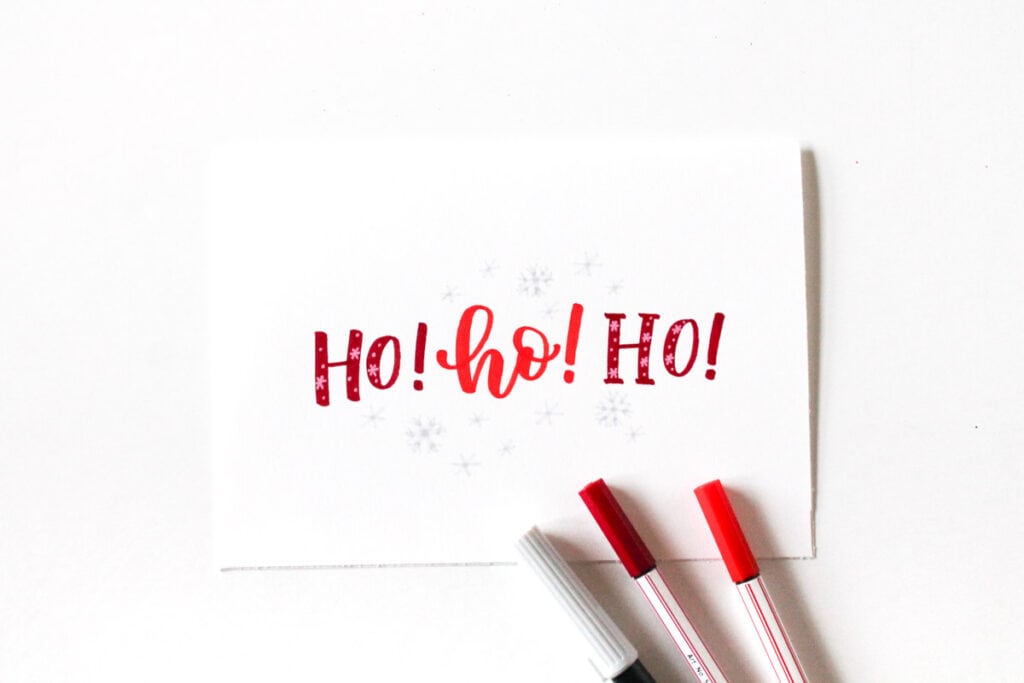
Merry Christmas card

Supplies used:
- Stabilo Pen 68 brush pens
- White gel pen
- Silver stardust gel pen
- White cardstock
Learn how to make this Christmas card here (printable template included!)
Classic red and green with a touch of silver sparkle makes a simple but lovely Christmas greeting.
Color blending with water-based markers

Supplies used:
If you have water-based markers, you can use them to create gorgeous blending effects.
Here are the steps I took to create this Christmas piece:
- Plan and sketch the design
- Start with lighter, base colors
- Add darker colors and blend
- Draw white details on top
- Add shadows
Color-blending pieces like this take a while to complete but can also be so much fun!

Need help with lettering composition?
The Lettering Composition Toolkit has everything you need, from a how-to guide, layout templates, and traceable embellishments to a step by step video workshop!
Cute red and green lettering

Supplies used:
You can’t go wrong with red and green lettering for Christmas!
Add a mono-line shadow to make it pop (here’s how) and add some highlights with a white pen to make it even more festive.
Lots more ideas of how to embellish your lettering in this post: 21 Fun and Easy Ways to Embellish Hand Lettering
Happy holidays greeting card

With this greeting card I used a light gray shadow to lift the lettering from the paper a little.
(Learn how to add a shadow to your lettering in this tutorial!)
And then a sprinkling of stars and dots is sometimes all you need to make your lettering look more interesting.
Lettering on wrapped gifts

Supplies used:
- Black wrapping paper
- Kraft wrapping paper
- Posca paint pens
Lettering on wrapped gifts is a fun activity around Christmastime.
You can either write on the paper before wrapping a gift, or decorate it after wrapping.
Personalize it with the recipient’s name or add some snowflakes and other doodles.

White “O Holy Night” lettering on dark paper

Supplies used:
- Navy cardstock paper
- White gel pen
- Silver chrome paint pen
White lettering on dark paper looks especially elegant and is so fun to do!
With this card I used a white gel pen on navy blue cardstock to hand letter the phrase “O holy night,” with a bit of flourishing.
Adding a little detail with a silver pen dresses it up even more.
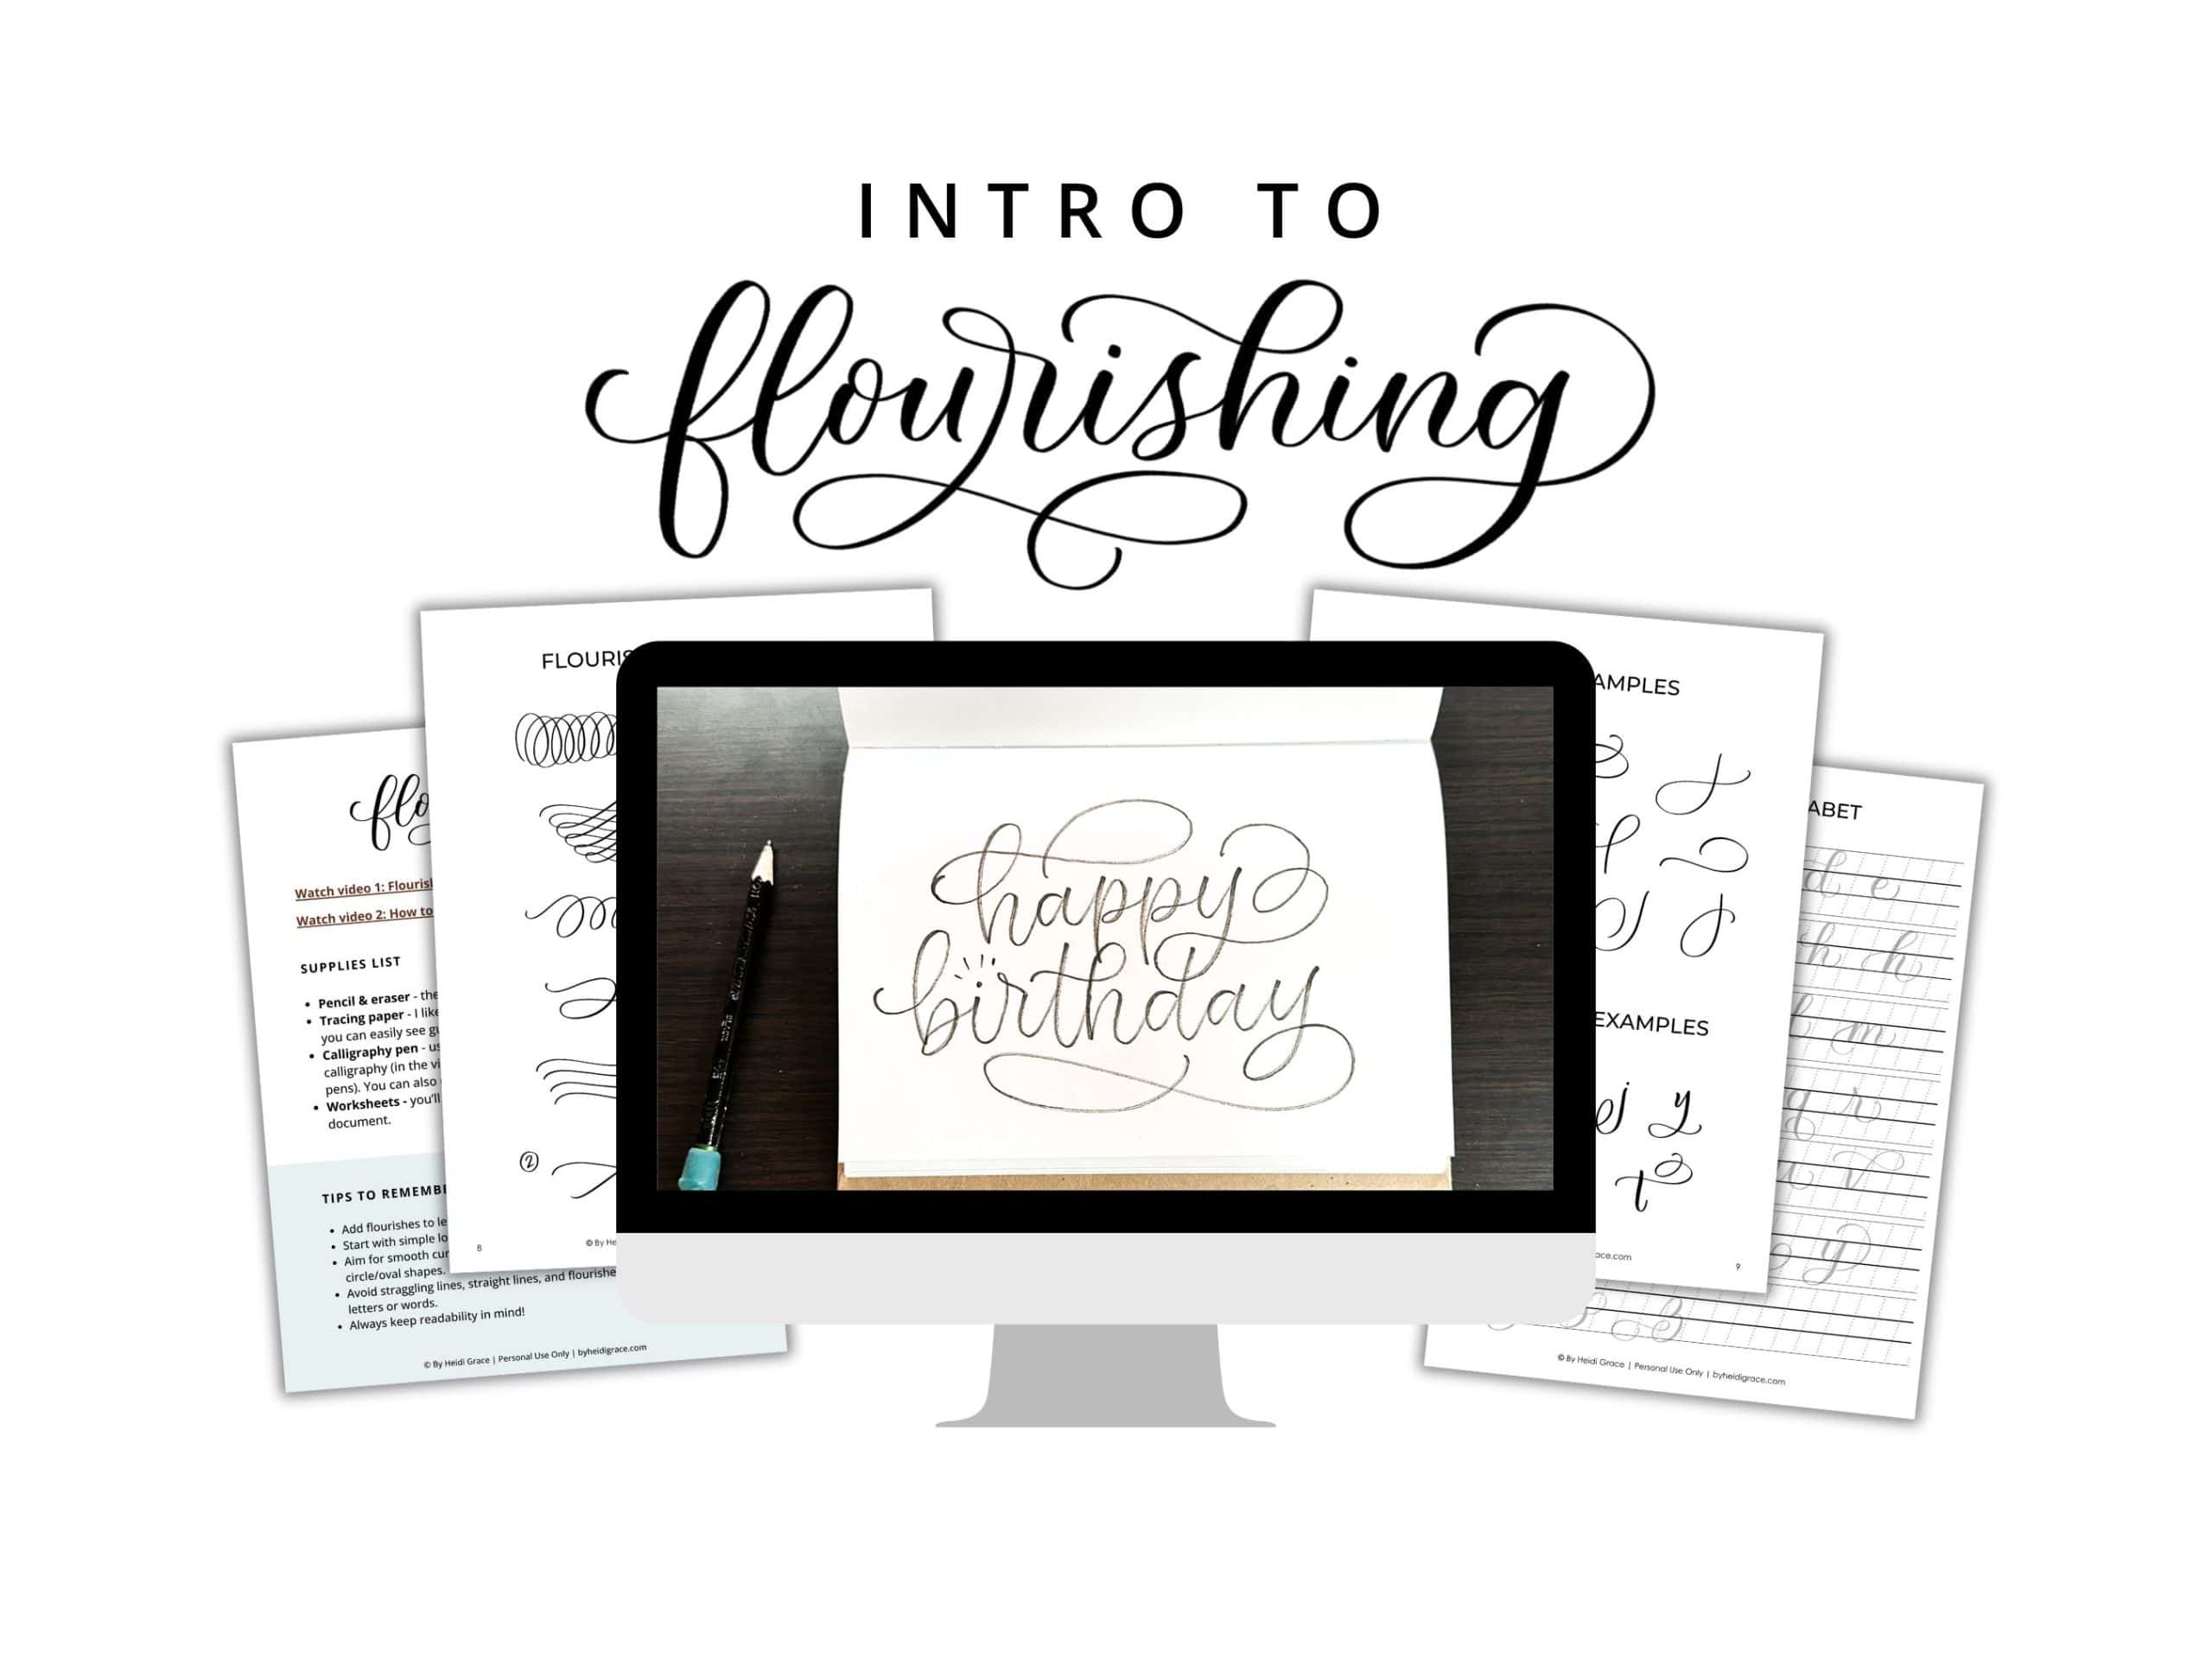
Want to learn flourishing?
In this workshop, you’ll learn how to add beautiful flourishes to your lettering in less than 30 minutes! Printable worksheets and video lessons included.
Lettering with dots

Pen used: Sakura Pigma Micron drawing pen
Adding tiny dots all around your lettering is time consuming but makes for a really cool effect!
Once you’ve written the words, start adding dots around them, making sure to leave white space around the letters for definition.
This technique looks best if you make the dots more concentrated around the lettering and then fade them out.
You can even outline some music notes to go with the song lyrics.
Christmas tree-shaped lettering

Supplies used:
Lettering within Christmas-themed shapes is a fun exercise and also makes for really cute designs!
Draw a shape and sketch words inside it using a pencil.
Once you’ve figured out the layout, you can use markers to complete the piece.
You could do lettering inside an ornament, star, mug, tree, or holly leaf shape. There are so many possibilities.
Metallic gold lettering with outline and shadows

Supplies used:
This fun technique really makes your lettering pop!
Write the letters first with a metallic gold pen, then add an outline and shadow with a black pen (this post shows you how).
Fun fact: in the picture above, the wrinkled texture happened totally by accident, because the tracing paper wrinkled from the wet gel pen.
Makes for a cool effect though!
Flourished serif-style lettering

Supplies used for this artwork:
- Karin Brushmarkers
- Watercolor paper
Adding flourishes to a serif lettering style is fun to play with and looks really elegant.
I suggest starting with a pencil sketch of the words.
Then play around with adding swirled flourishes coming off some of the letters. Try to keep them really smooth and rounded.
Red lettering with white snowflakes
Supplies used:
Another fun idea is to draw snowflakes on top of your lettering using a white pen.
If the white isn’t showing up as well as you want it to, you can always add a second layer.
Blended calligraphy with watercolor brush pens

Supplies used:
- Sketchmarker Aqua watercolor markers
- Water brush for blending
- Arches watercolor paper
Grab some watercolor markers and a water brush and try some blending!
Just write the letters in different colors and blend it all smooth with water.
Add shadows and a little shimmer with a metallic watercolor paint.
Christmas song lyrics in calligraphy

Pen used: Tombow Fudenosuke brush pen
Write out the lyrics to your favorite Christmas carol for a beautiful piece of art!
A long calligraphy piece like this takes a lot of planning, so start with a pencil and figure out how to break the lines of text up.
Then you can add in flourishing if you like that style.
Want to learn flourishing?
In this workshop you’ll learn how to add beautiful flourishes to your lettering in less than 30 minutes! Printable worksheets and video lessons included.
‘Tis the season card with greenery

Supplies used:
- White cardstock paper
- Stabilo Pen 68 brush pens
Find a tutorial and free template for this card here.
Try drawing a little garland with red berries beneath your brush lettering for a simple but lovely card.
Brush lettering layout with ribbon

Pen used: Tombow Fudenosuke brush pen
Add a big ribbon banner to your brush lettering designs to make them look extra-special!
Stick a word inside the ribbon that you want to emphasize in the piece.
You can learn how to design layouts and draw beautiful ribbons like this inside my Lettering Composition Toolkit.
Need help with lettering composition?
The Lettering Composition Toolkit has everything you need, from a how-to guide, layout templates, and traceable embellishments to a step by step video workshop!

Have you ever tried mixing up the lettering styles you use?
Combining script and print styles together in one piece creates a whole new and unique lettering style that you can use for playful Christmas designs.
Lettering composition with flourishing

Supplies used to create this composition:
- Pencil
- Lined paper
- Tracing paper
- Tombow Fudenosuke brush pen
If you like sketching and making drafts to arrive at final lettering piece, you’ll enjoy creating a Christmas-themed design like this.
I always start with a pencil and lined paper as I figure out the lettering styles and word placement.
(Learn how to design lettering layouts in this post!)
Then I start sketching in flourishes to make it look extra fancy.
Tracing paper is really helpful as you make adjustments with each draft.
Once you’re happy with the composition, you can trace over your sketch with a pen.
Blue and silver watercolor lettering

Supplies for this artwork:
- Watercolor paper
- Round size 4 brush
- Ecoline liquid watercolor
- Silver watercolor paint (I used this paint)
This icy, wintry lettering was created with a paintbrush and watercolor paint.
Do the lettering first with water, then drop in blue watercolor and shimmery silver paint for a frosty look when you turn it toward the light.
Brush calligraphy with gold stars and dots

Supplies used:
Sometimes the best lettering is the simplest and easiest to create.
If you write something out and find there are a lot of empty spaces, fill them in with dots and stars.
It’s easy to do and makes your brush lettering look festive!
Which of these Christmas lettering art ideas is your favorite?

