
Watercolor Painting for Beginners Made EASY!
Want to start watercolor painting?
In this guide, I’ll show you how to paint with watercolors in super simple steps!
The supplies you need
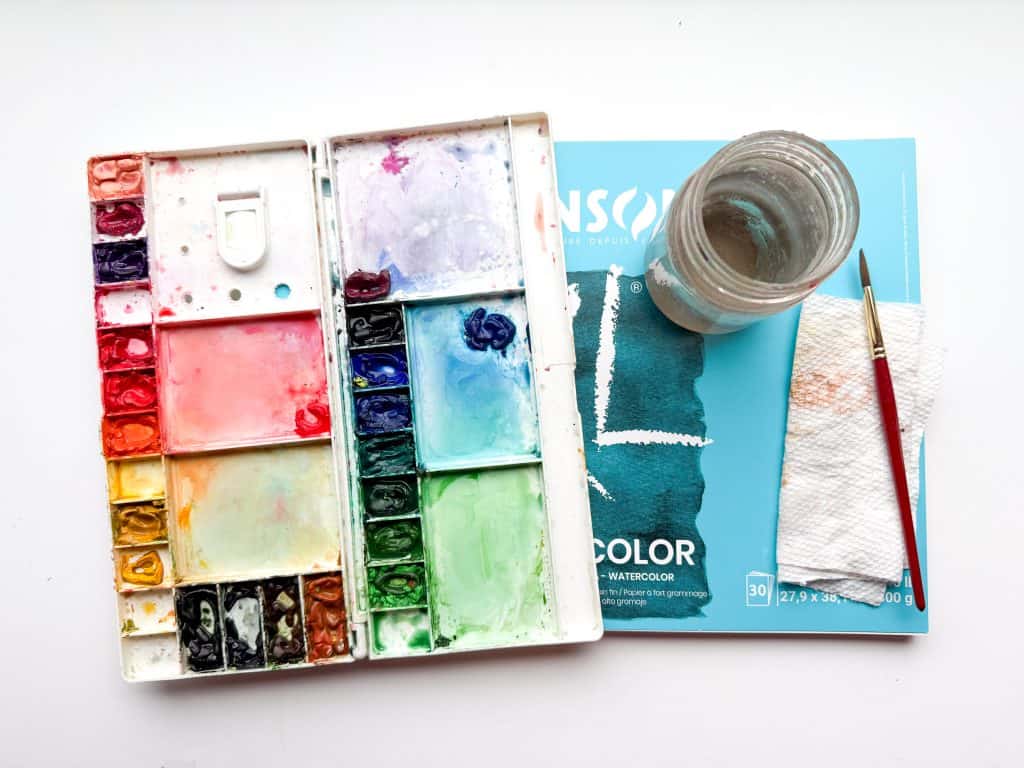
Here’s a quick list of the supplies you need for watercolor painting:
- Watercolor paint
- Watercolor paper
- Paintbrushes
- Mixing palette
- Water
- Paper towel
More details on what to buy below!
Watercolor paint
Watercolor paint comes in pans or in tubes.
It doesn’t matter at all whether you get paint in pans or in tubes – it’s just personal preference. Watercolor pans require the least prep.
Here are some great watercolor paint sets to start with:
- Kuretake Watercolor Paint Set (more expensive)
- Grumbacher Academy Watercolor Sets (more expensive)
- Winsor & Newton Cotman Watercolors (less expensive)
You can also look at the watercolors at your local art supply store and find something there.
Just avoid cheap watercolor sets made for kids because those aren’t very quality paints.
If you have/buy watercolor paint in tubes, you’ll need to squeeze the paint onto a palette.
You can use the paint wet or let it air-dry. (Dry watercolor paint can be re-wet at any time.)

For more step by step instructions, read this post: How to Use Watercolor Paint Tubes
Paper
The paper you use for watercolor painting is extremely important.
Here’s what I recommend using:
- Canson XL coldpress watercolor paper – great for starting and practicing
- Arches coldpress watercolor paper – higher quality paper
(If you can only get one kind, just start with the Canson watercolor paper.)
You may notice that watercolor paper comes in “cold press” and “hot press.” I recommend sticking with cold press paper for now.
Paint brushes
Some watercolor sets come with a brush included, but those aren’t always the best choice.
It’s better to purchase paintbrushes separately and make sure you get quality brushes that you like. (They can last you a lifetime if well cared-for!)
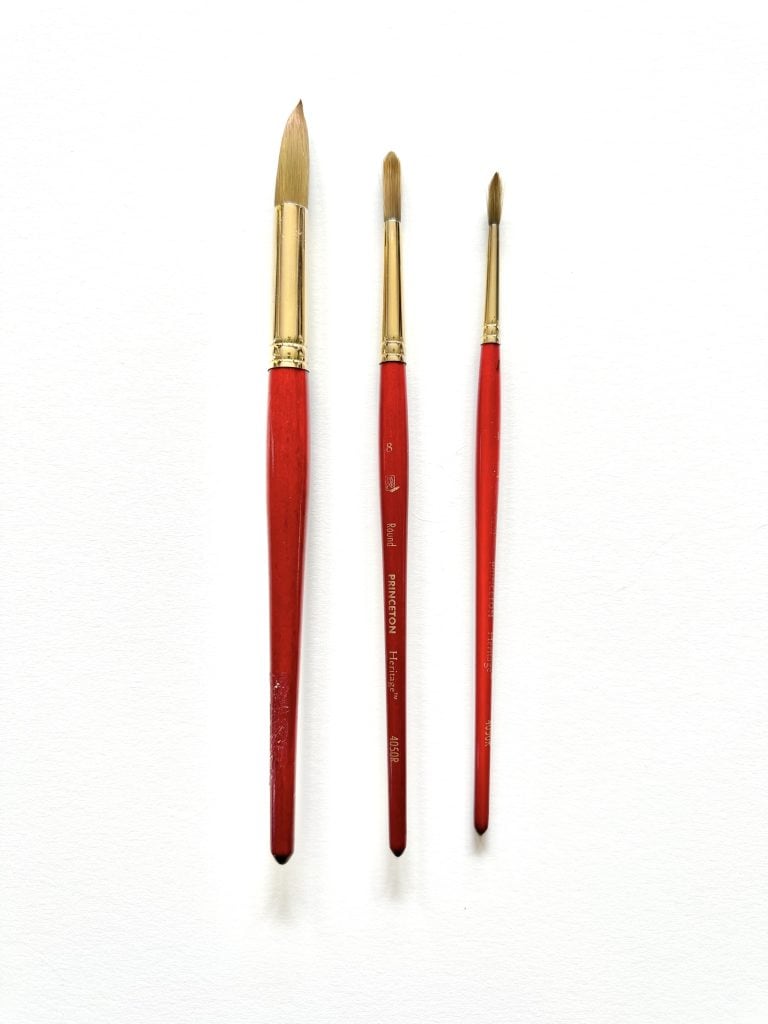
I recommend starting with round watercolor brushes because they’re the most versatile.
My favorite watercolor brush brand is Princeton.
This set of 4 Princeton watercolor brushes is great for getting started!
You can also buy brushes individually at an art store if you prefer.
If you can get multiple brush sizes, that’s great! If not, start with a medium size like a size 8 or 10 round brush.
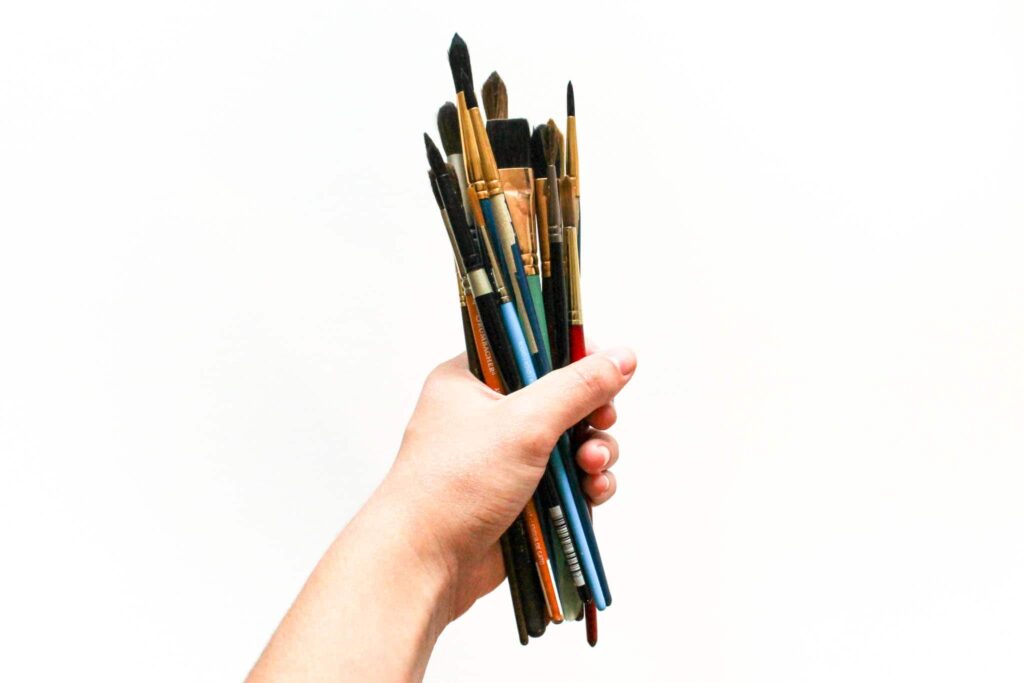
You could also grab a value brush pack that has a whole bunch of brushes. I like this Royal & Langnickel brush set for that.
Other basic watercolor supplies
You’ll also need a palette to mix colors on.
Most watercolor sets come with a mixing palette area, but if not, you can buy a plastic folding palette (my favorite) or any watercolor palette at an art store.
(If you have watercolor tubes, I suggest buying a palette that has pans for you to squeeze the paint into – like this one.)
Don’t have a palette? You can also use a ceramic dish or plastic surface you have around the house to mix watercolors on.
Last but not least, you’ll need a container of water, and a paper towel or cloth to blot your paintbrush on.
If you’d like to paint landscapes, masking tape or washi tape is also handy to have, but not required.

Related read: 5 Reasons to Tape Watercolor Paper
How to paint with watercolors
Once you’ve gathered your supplies, you’re ready to start painting!
Time needed: 30 minutes
Here are the steps to take when painting with watercolors for the first time.
- Moisten your watercolor paints.
You can use a spray bottle to do this quickly.

- Get a paintbrush wet.
Swish a paintbrush in water, then tap it on a paper towel so it isn’t dripping.

- Pick up watercolor paint with your brush.
Use your wet brush to pick up watercolor paint from your palette.

- Make strokes with the brush on paper.
Use your paint-soaked brush to make brushstrokes on the paper!

- Add water to your brush whenever needed.
To make things flow and blend smoothly, dip your brush in water again if your painting feels dry or the paint isn’t moving like you want it to.

- Mix colors on a palette.
Make your own color combinations by mixing colors together with some water on a palette. For example, you could mix yellow and red to make an orange color.

- Add more water for lighter color.
To get a lighter shade of a color, just add more water to the mix to dilute the paint.

- Use very little water for a saturated color.
For a vibrant, saturated color, use very little water and pick up lots of paint so there’s more paint than water on your brush.

- Rinse your brush in water when changing colors.
Anytime you want to clean your brush or pick up a different color, just rinse your brush in water.

- Blend colors on paper.
To blend watercolors on paper, just use a wet brush to make smooth strokes and the water takes care of the rest. Let the colors run into each other and blend on the paper.

- Try wet on wet.
Get a section of paper wet first, then drop wet paint into it and see how quickly the pigment spreads.

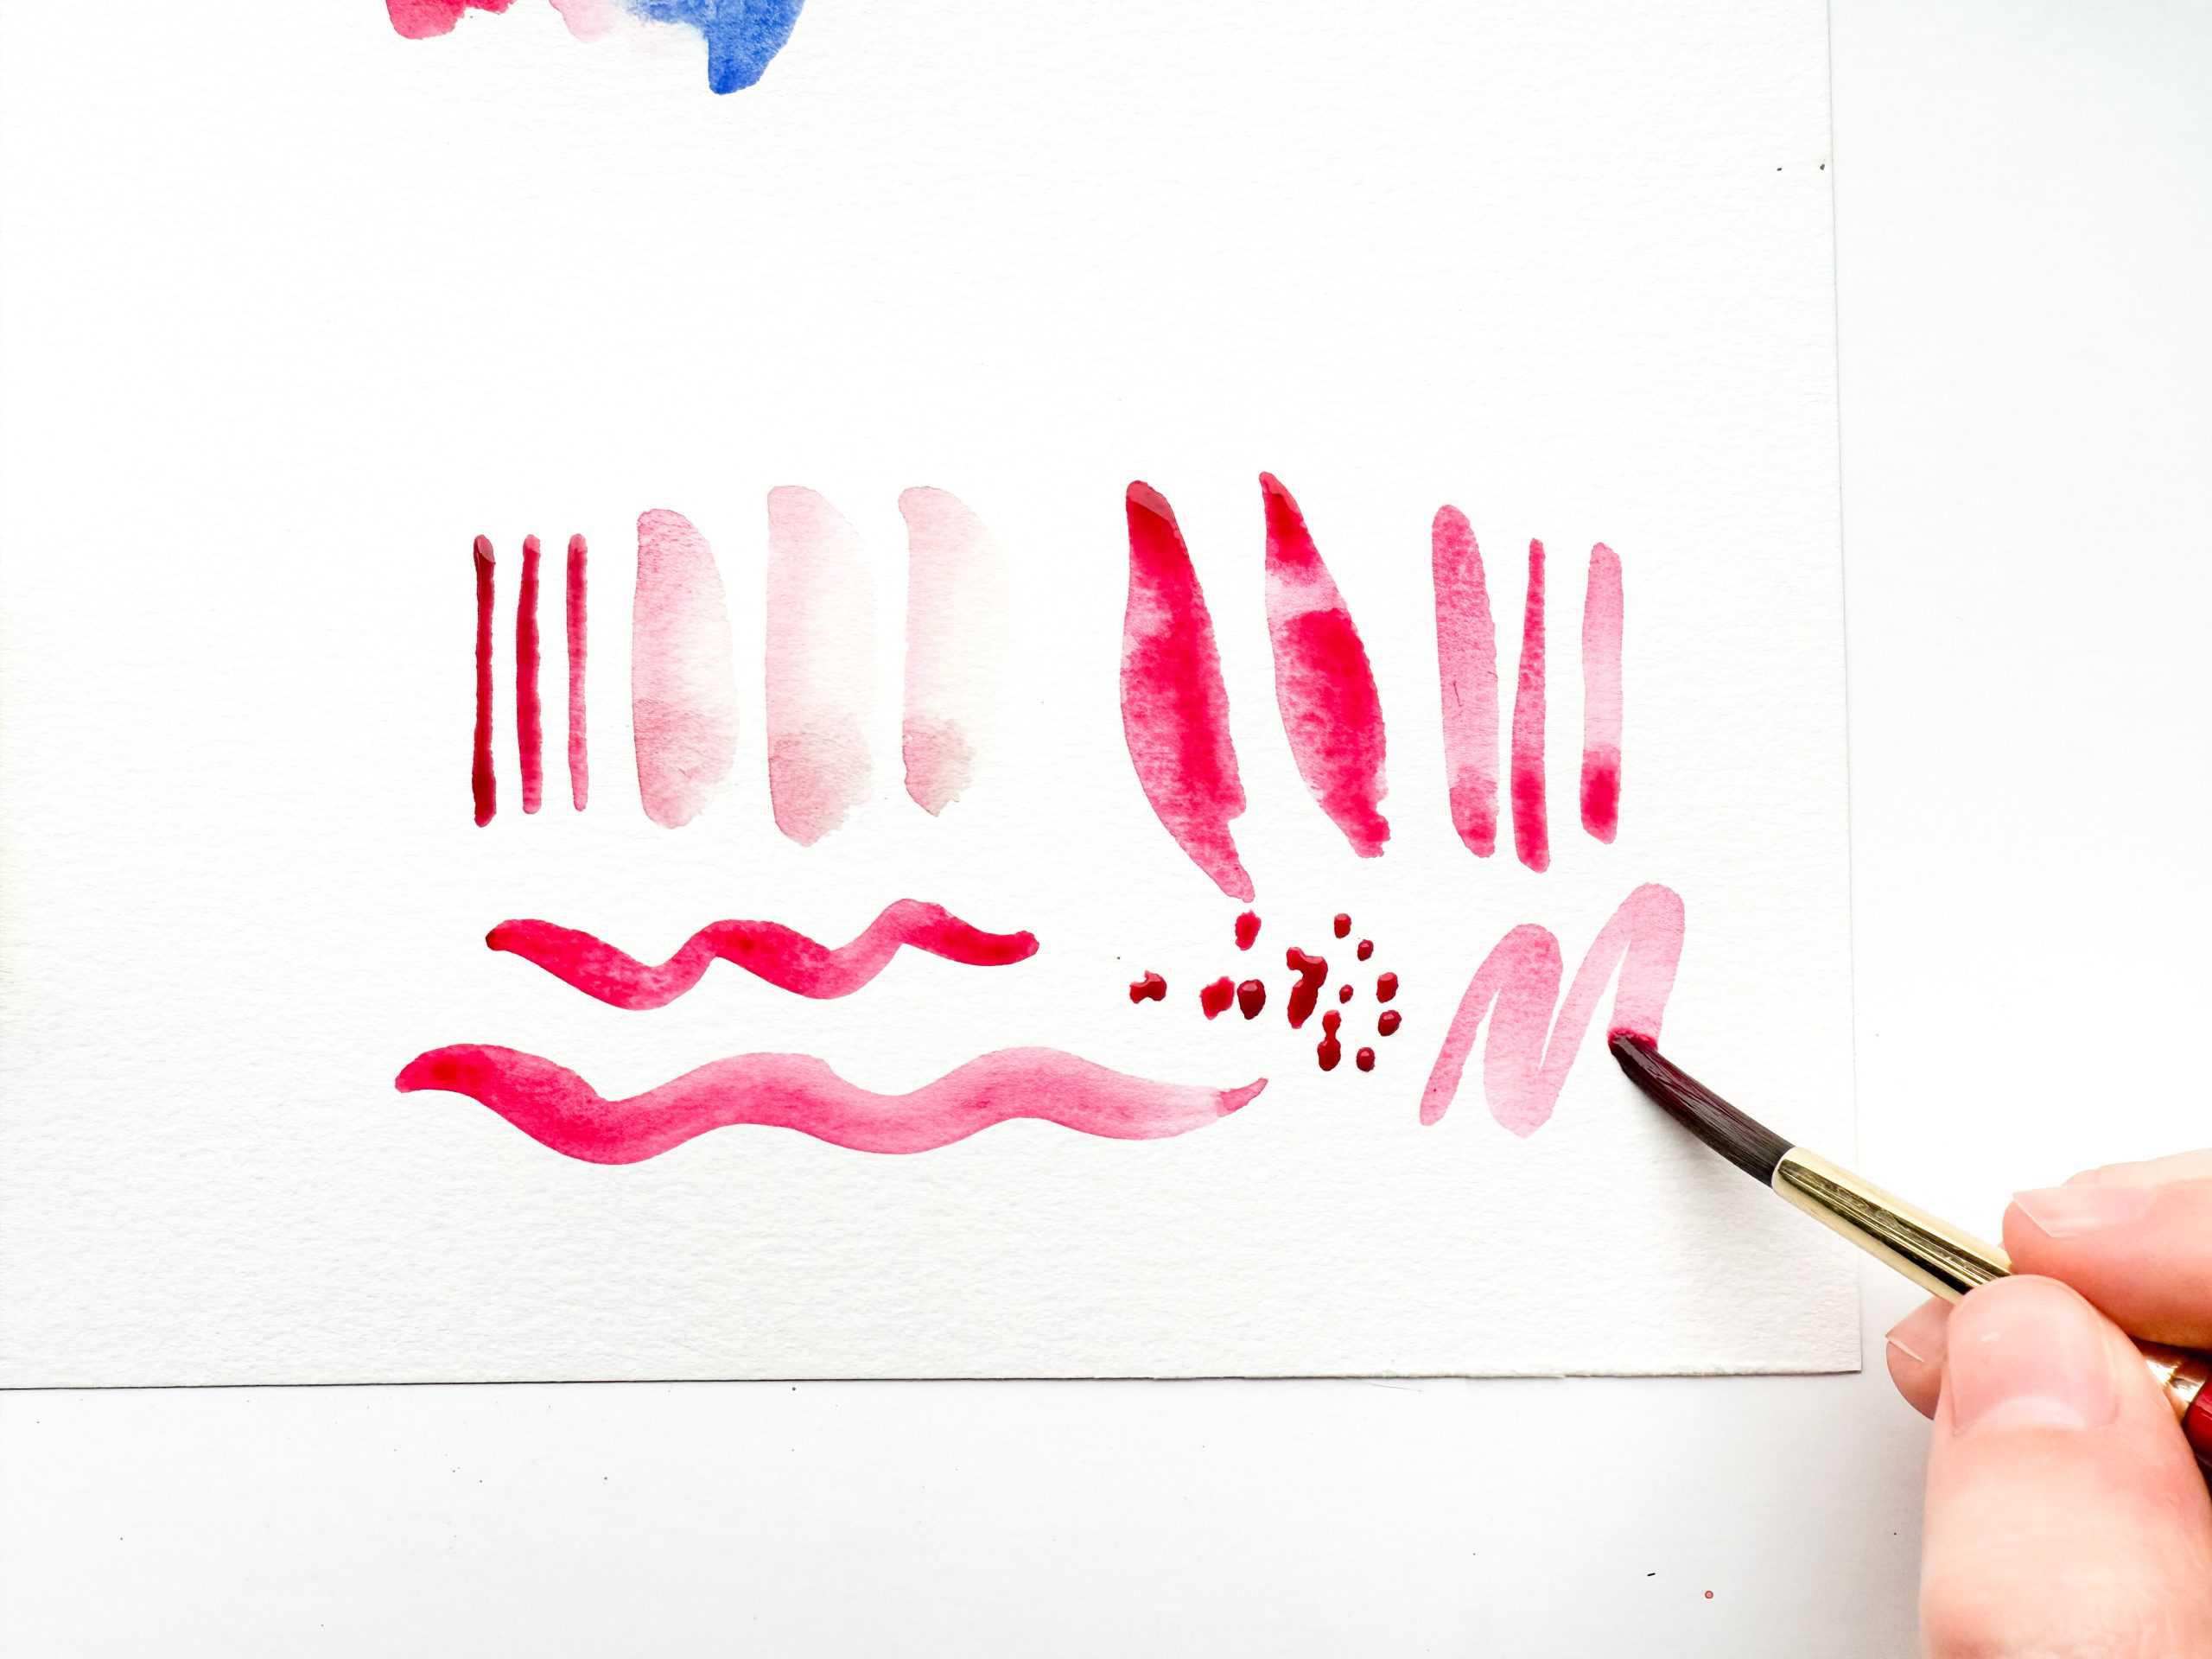
- Learn the different strokes you can make with the brush.
There are lots of strokes you can make with one brush. Try using just the tip, the side, or the full “belly” of the brush for different effects.
There isn’t really “right or wrong” when you’re first trying watercolor painting.
Experiment, and try things, and have fun!

Need easy watercolor practice ideas?
Subscribe to get my emails and I’ll send you a free list of 160 easy art practice ideas as a thank you!
Easy watercolor exercises for beginners
Now, what should you paint when you’re first trying watercolor?
Here are some fun and easy things to paint with watercolor that you can do even if you’re completely new.
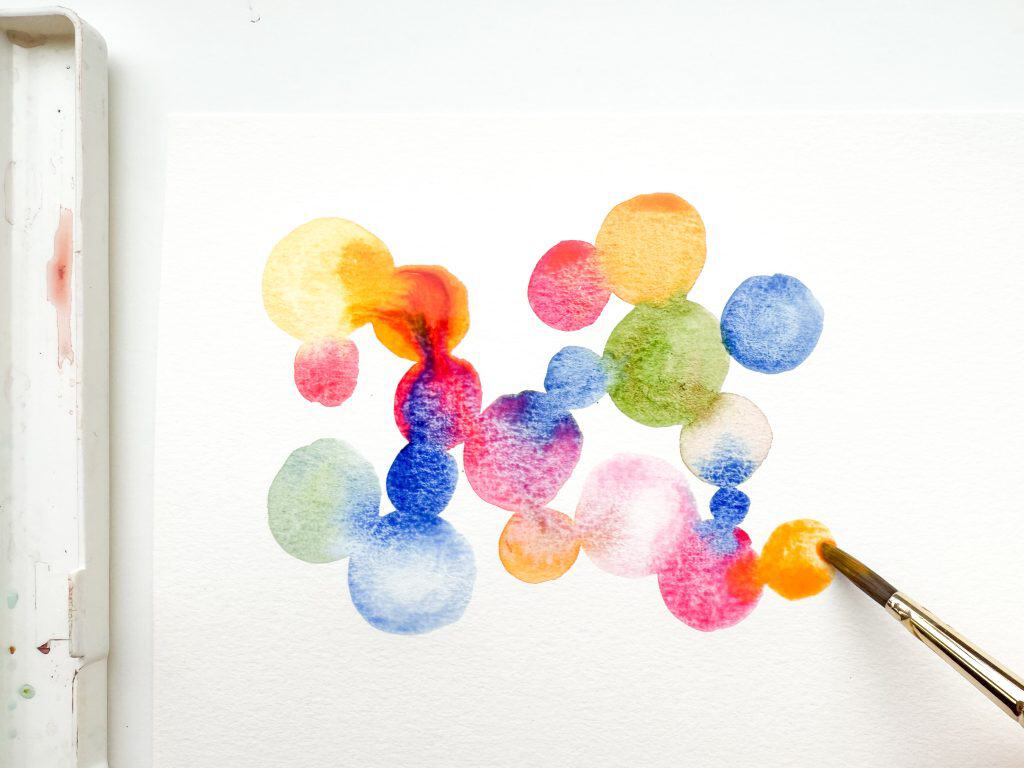
Connected shapes
This exercise is one of my favorites, and it’s one that I did when I was first learning watercolor.
It’s as simple as painting a bunch of shapes on paper in different colors.
I usually do this with circles, but you can do triangles, squares, or any shape.
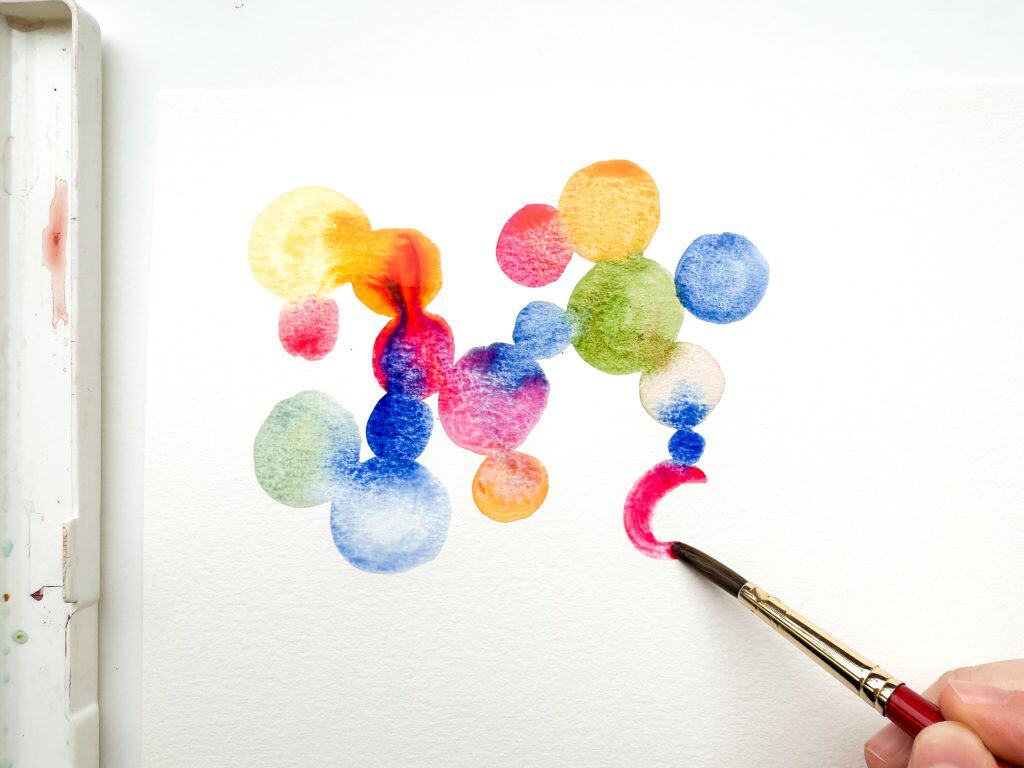
Paint a bunch of circles connected on the paper, and let the colors “bleed” into other shapes.
Vary the sizes and colors, and experiment with using clean water to “pull” color from other shapes.
If things are drying too fast, you may need to use a little more water or work more quickly.
This is a great beginner exercise because it helps you play with colors, shapes, and blending!

Leaves
Painting simple leaf shapes is not only easy, but also a very useful technique to learn.
Add a little pressure to your brush as you paint slightly curved, banana-shaped strokes.
Put two of them together to form a basic leaf shape.

You can paint leaves in two strokes, or all in one stroke.
To paint a leaf with one stroke, start with light pressure on the tip of your brush.
Then, as you move downward, increase pressure so you’re using the full “belly” of the brush.
Slowly release pressure again to finish the leaf with a pointed end.

Even if your leaf shapes don’t look perfect on the first try, you can smooth out the edges and refine the shape.
Patterns
Painting simple patterns is another fun, low-pressure way to experiment with watercolor.
You can use anything to make your own patterns: lines, swirls, dots, leaves, or flower shapes.

Have fun with the colors you use and the different brush strokes you make!

Gradients
A watercolor gradient is a smoothly blended transition between colors (or the values of one color).
This is a watercolor technique that you’ll use often, and it’s fun to play around with!
To paint a one-color gradient, start with a section of saturated, wet paint.

Next, rinse your brush in water. Tap it once on paper towel so it’s not dripping, and use the clean wet brush to touch the paint and start blending it downward.
Make smooth strokes back and forth.

Rinse your brush again and continue bringing the color down further until it’s very light.

Now you have a watercolor gradient!
You can go over the gradient a second time if you want to make it even smoother.
For a two-color gradient, add a second color at the bottom and blend it smoothly upward using the same method.
Simple flowers
Flowers are one of my favorite things to paint with watercolor, and they can be very simple!
For example, you can paint a simple rose by making slightly curved strokes wrapped around each other like a cinnamon roll.
Make sure to leave white space in between strokes.

Continue building out the rose this way, making the strokes longer and bigger as you move outward, until the rose is as big as you want it to be.

You can also experiment with using your paintbrush to make basic flower petal shapes.

Drop some saturated color into the center of the flower while it’s wet.

Here’s another super easy flower to paint:
Use the tip of your brush to make light, thin strokes going around in a flower shape.

You can add a flower center, a stem, and leaves if you like.

The flower painting possibilities with watercolor are endless, but I hope you have fun trying these simple ones to get you started!
For more easy watercolor exercises that are relaxing to do, check out this video ⬇️


Step by Step Watercolor Workshops
Want to continue your watercolor learning with step by step projects? Check out the fun watercolor workshops available in my shop!
Controlling water and paint consistency
Watercolor painting is all about water and paint control.
The amount of water to paint you’re using at any point makes all the difference in how your painting looks.
Here are some important basics about water and paint control that you should know.
- The more water there is on your brush or paper, the less control you have. Lots of water means the paint spreads everywhere and you have little control over it. Avoid puddles of water on your paper.
- Less water means the paint won’t spread as much and you have more control over where it goes. Whenever you want to paint in a controlled way, use less water.
- Dab your brush on paper towel to soak up excess water. You can also press your brush against the side of the water jar to squeeze out extra water, so the brush is wet but not dripping.
- Any time something gets too watery or feels out of control, dry your brush and soak up the excess water from the paper. You can also soak up extra water with a paper towel.


As you continue to experiment with watercolors, you will get a feel for how to control the water and pigment on both your paintbrush and the paper.
Here’s a helpful video on YouTube about water control if you need more help with this.

Watercolor painting cleanup
Cleanup is nice and simple with watercolor painting!
As you paint, you can continue using the same water in your jar. Change out the water if it gets dark or heavily colored.

When you’re done painting, the cleanup is minimal. Since watercolor is a water-soluble paint medium, all you need is water to clean!
- After you’ve finished painting, rinse your brushes thoroughly in water.
- Place the brushes lying flat on the table or a paper towel to dry.
- Leave your watercolor paints to dry. You can cover them later to keep out dust.
- Dispose of the paint water and rinse out the jar for next time.
- Any spills or paint splatters can be easily cleaned up with water and paper towel.
For more on paintbrush care, read this post: How to Take Care of Watercolor Brushes so They Last
More watercolor tutorials for beginners
Below are several watercolor video tutorials that walk you through simple projects and help you start expanding your skills with different techniques.
In this first tutorial, I show you how to paint a simple landscape with watercolor markers, but you can easily follow along with paints!

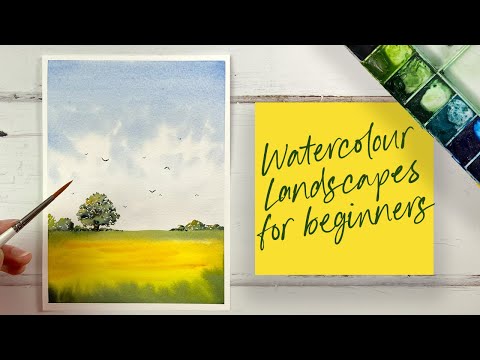
In this tutorial by @makoccino on YouTube, you’ll learn how to paint three simple but beautiful watercolor landscapes, step by step.

This next video by Harriet de Winton is a great tutorial where she shows you how to start painting flowers and leaves with watercolor!

Lastly, here’s another easy watercolor landscape that you can paint even if you’re just beginning to learn watercolor.
There are a ton of watercolor tutorials out there, but these ones are easy to follow and perfect for when you’re just getting started.
Be sure to subscribe to my YouTube channel for more watercolor tutorials, too!
Step by Step Watercolor Workshops
Want to continue your watercolor learning with step by step projects? Check out the fun watercolor workshops available in my shop!

Final thoughts
When I was a watercolor beginner, I often had the feeling that I was “wasting” supplies because I didn’t actually know what I was doing.
If you feel this way, too, remember that as long as you are practicing, it is not a waste.
If you never use your supplies for fear of messing something up, what’s the point of having them?
Every day of practice and play, however messy or imperfect, is progress made!
I hope this is just the beginning of your watercolor journey and that you’ll continue to learn and discover more about this beautiful art medium.
Save this post ⬇️


Hi Heidi,
Do you have a watercolor peacock tutorial? I thought I saw it on your page, but I cannot find it now.
Thank you!
SAM
Hi Sam, I have not made a watercolor peacock tutorial, so you might want to look elsewhere 🙂