
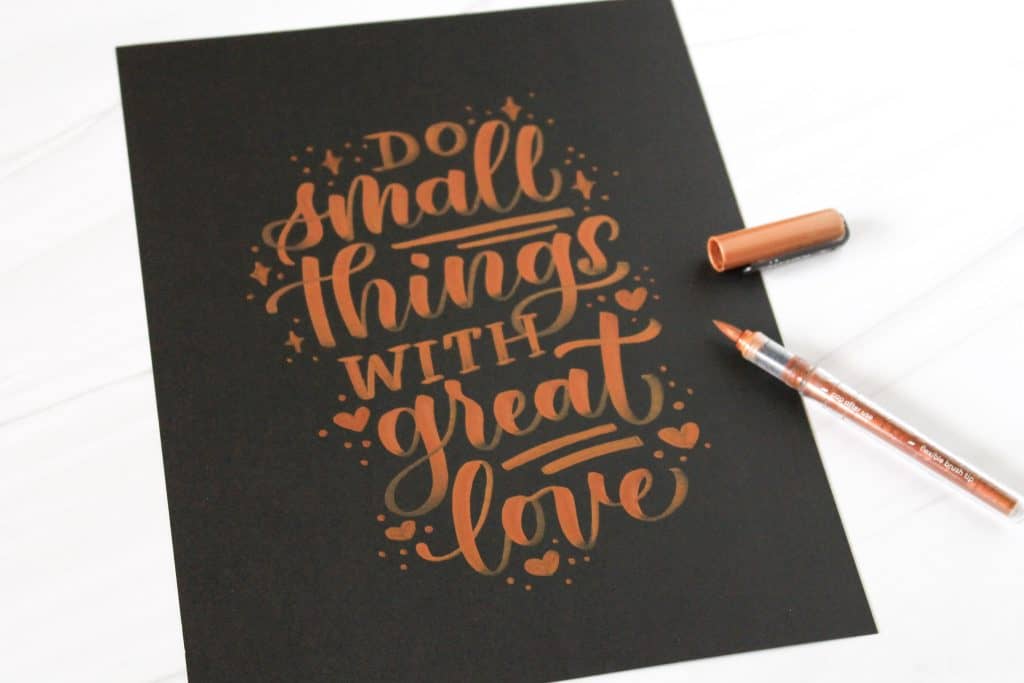
How to Make Beautiful Calligraphy Greeting Cards
Want to make beautiful calligraphy greeting cards by hand? Here’s the step by step process to use!

Ready-to-go calligraphy card greetings
Don’t have much time but still want to give beautiful, handwritten cards? Grab these traceable calligraphy greetings for whenever you need a card in a pinch!
This post contains affiliate links. Learn more.
First, here’s a list of helpful supplies for making your own calligraphy cards:
- Blank greeting cards with envelopes
- Pencil and notebook paper
- Light pad for easily transferring a sketch/design
- Kneaded eraser
- Small-size brush pens
- Medium-size brush pens
- White and metallic gel pens for adding details
- Glitter gel pens
Pssst… if you’re new to calligraphy, learn how to do it in my step-by-step online course, or try your hand at it with a regular pen in this tutorial!
How to make a calligraphy greeting card by hand
Time needed: 20 minutes
Here’s how to make a calligraphy lettering card from scratch!
- Cut a card to size.
First, if you don’t already have a card ready, cut a card out of cardstock paper in your preferred size.
- Sketch out a design.
Use a pencil and lined paper to sketch out a design using the words you want to put on the front of the card. This can be as simple or elaborate as you like!

- Transfer the design to a card.
Next, transfer your finished sketch to the card using a light pad or by scribbling pencil on the back of the paper and transferring it that way.

- Trace your design with pen.
If you didn’t use a light pad in the previous step, then you’ll need to go over your pencil sketch with a pen to finish it.

- Erase any leftover pencil lines.
Once the ink is completely dry, gently erase any pencil lines that are visible.
- Finish with extra details (optional).
To make your card even more special, add embellishments like stars, dots, or details with a sparkly pen!

You might also like: 6 Beautiful DIY Calligraphy Christmas Cards
Need help with your lettering designs?
Sign up to get my emails and grab these lettering layout templates for FREE to help you create better lettering designs! Just download, print, and fill in the blanks.

How to use traceable calligraphy card greetings
Alternatively, you can make beautiful, hand-lettered cards in way less time by using traceable templates!
My printable calligraphy card greetings are already designed FOR you so you’ll always have something ready to go when you need a card fast!

Traceable calligraphy card greetings
Don’t have much time but still want to give beautiful, handwritten cards? Grab these pre-designed calligraphy greetings for whenever you need a card in a pinch!
Here’s how to use these whenever you need a quick card:
- Print out the worksheets
- Pick from any of the 27 greetings included
- Use a light pad to trace the design onto a card
- (optional) Customize with different colors or embellishments
And boom! you have a finished card in way less time, with way less effort! No need to come up with something from scratch.
Make it easy for yourself and keep these traceable calligraphy card greetings on hand for whenever you need a card in a pinch!


Special details to add to handmade cards
Here are a few ways you can make your calligraphy cards even more special and one-of-a-kind!
Embellishments
There are a whole bunch of easy ways to embellish your lettering to make it pop even more!
Check out this post for 21 Fun & Easy Ways to Embellish Your Lettering.
Flourishing
Adding beautiful flourishes to your calligraphy makes any card look more elegant!
Learn how to add flourishes to your lettering in this workshop:
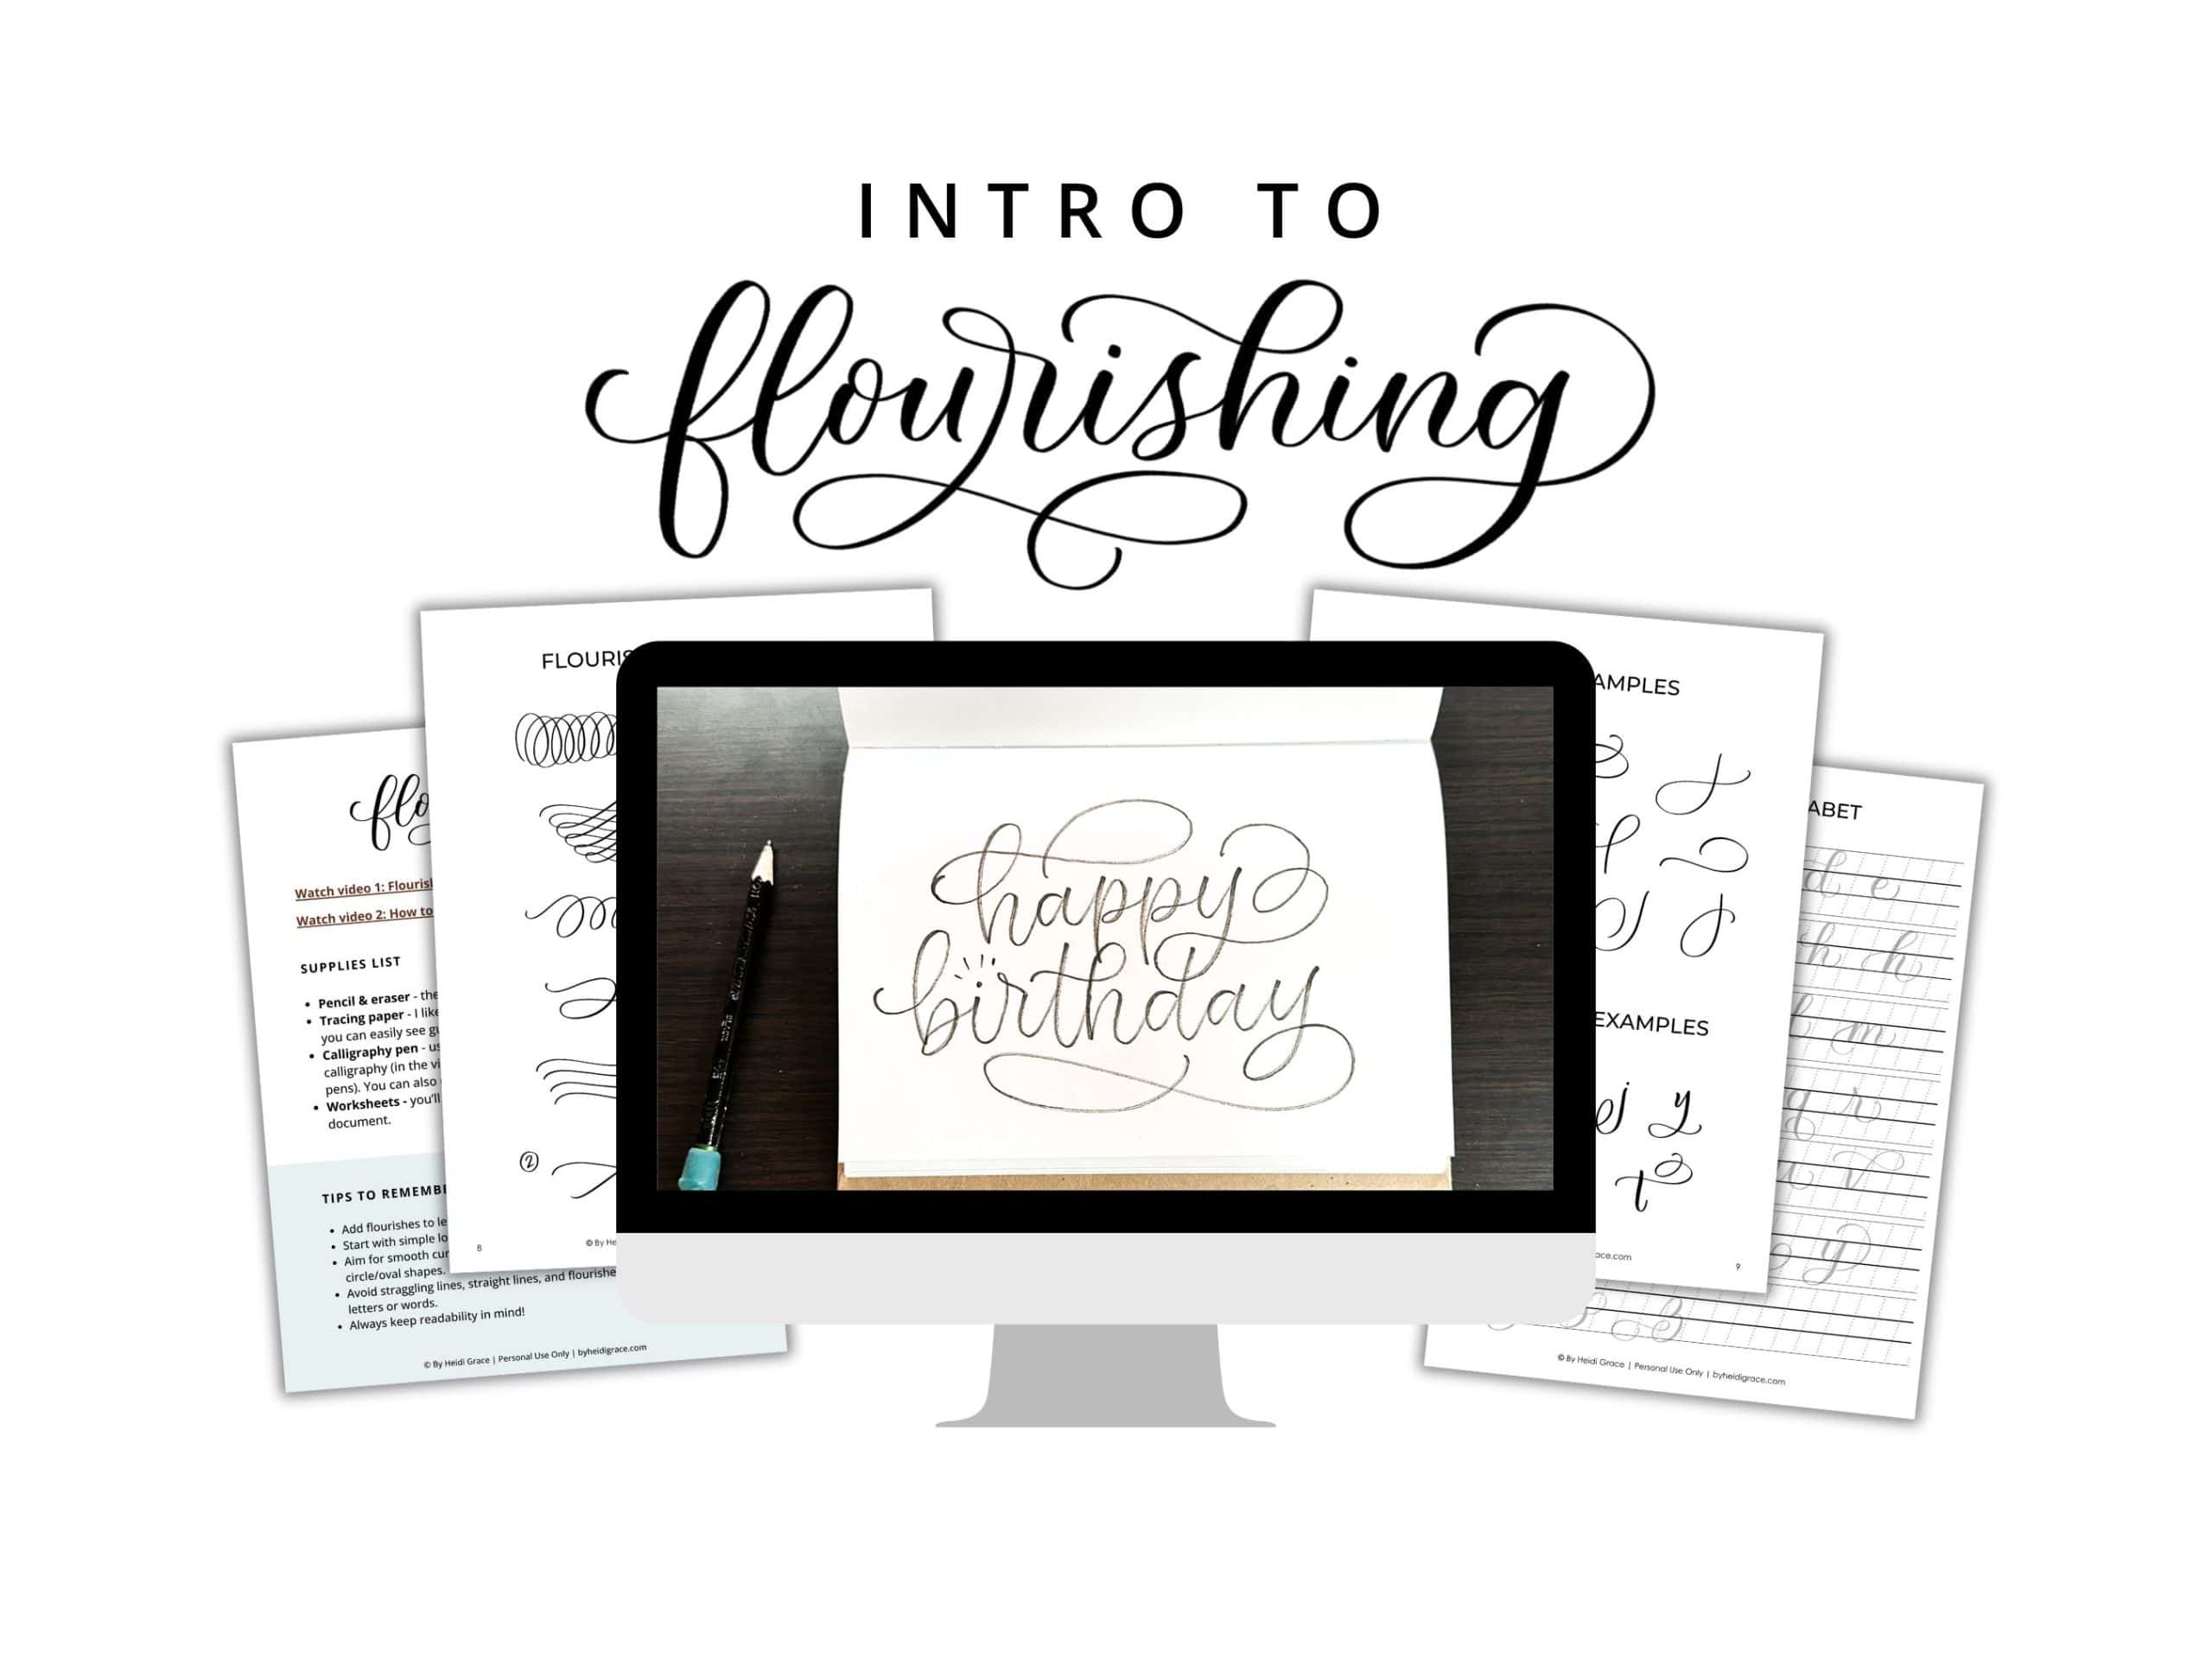
Intro to Flourishing Workshop
Learn how to add beautiful flourishes to your lettering in less than 30 minutes! Printable worksheets and video lessons included.

Shadows
Adding a shadow to your calligraphy lettering is a quick way to make it pop off the paper.
Learn how to add shadows to your lettering in this tutorial: How to Easily Add Shadows to Your Lettering
I love using light-colored brush pens like these for adding shadows to my lettering!

Making a beautiful greeting card by hand is one of the best ways to make someone feel special.
And if you know how to do calligraphy, you can easily make cards that are one-of-a-kind. Use the tips from this post to make your next beautiful greeting card!
You might also be interested in:
How to Design Lettering Layouts (6 Step Process)
80 Positive Short Quotes to Write in Calligraphy
7 Great Places to Find Lettering Inspiration and Ideas

