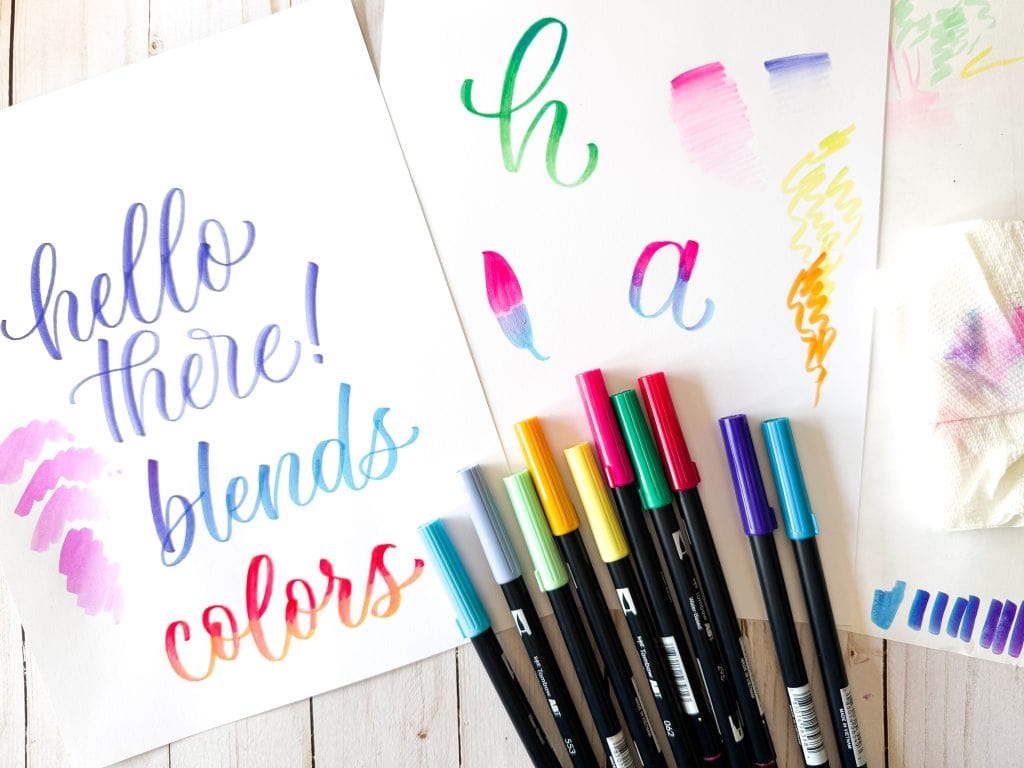
5 Easy Blending Techniques with Water-Based Brush Pens
One of the MOST fun things you can do with brush markers is use them for beautiful blending effects!
In this post, I’m going to show you five ways to blend water-based brush pens.
These techniques should work with any water-based marker (like Crayola markers) and there are lots of fun ways to use them for colorful, eye-catching artwork!
This post contains affiliate links. Learn more.
Watch the video:

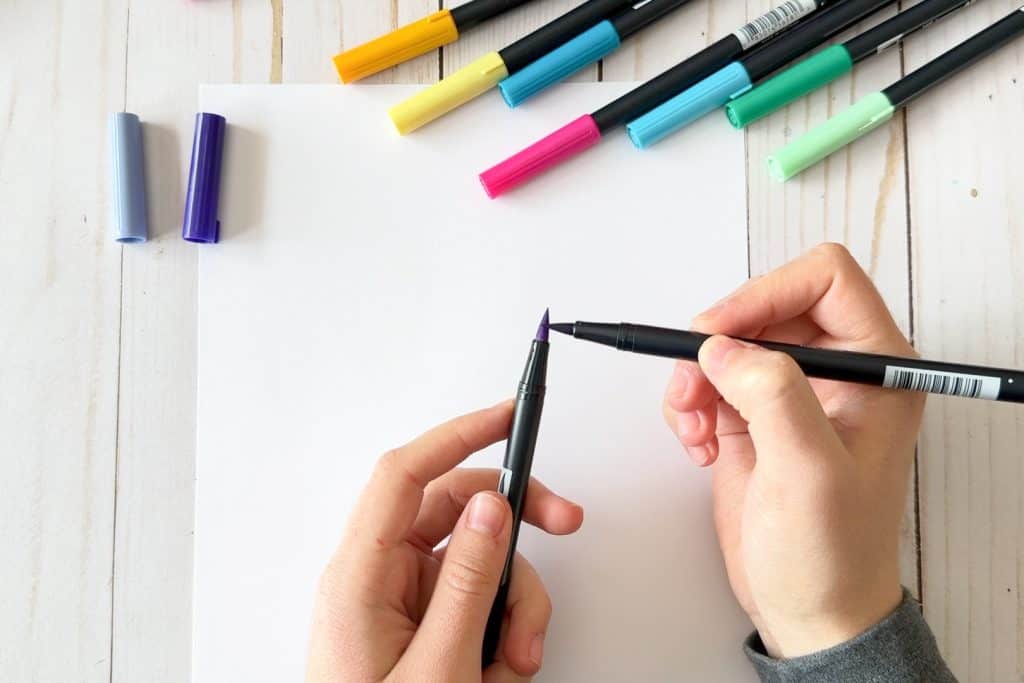
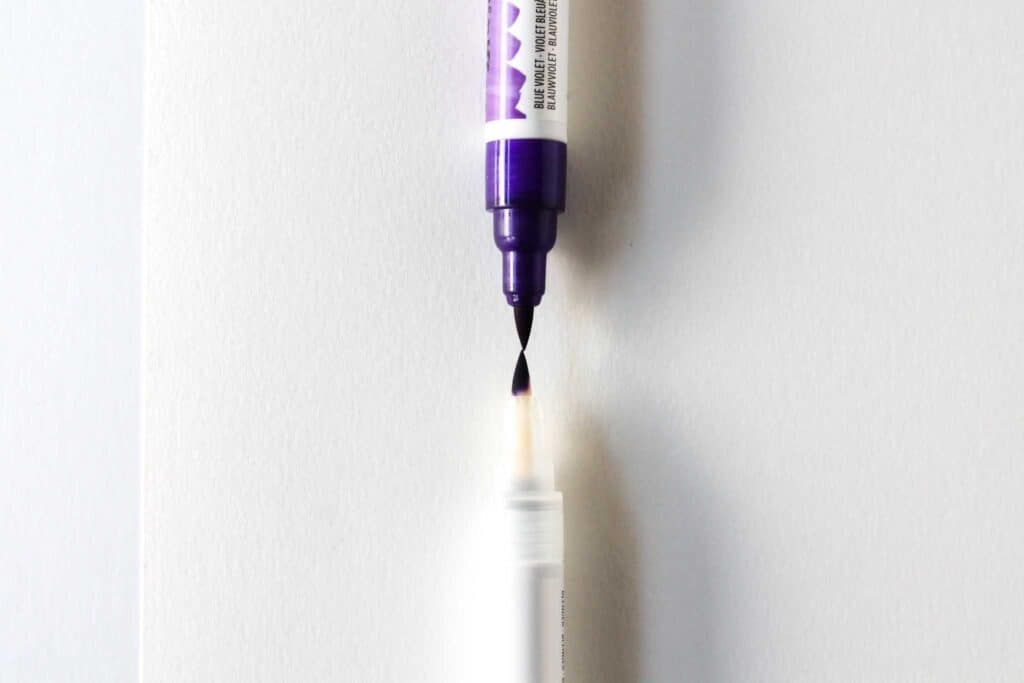
1. Blend directly on the brush tip
With this technique, we mix colors directly on a brush pen tip and then use it on paper to get a smooth blend between colors.
Here’s how to do it:
First, choose two colors.
(I’m using Tombow Dual Brush Pens for all these examples.)
Then take the darker color of the two, and scribble or press it onto the tip of the lighter-colored pen.
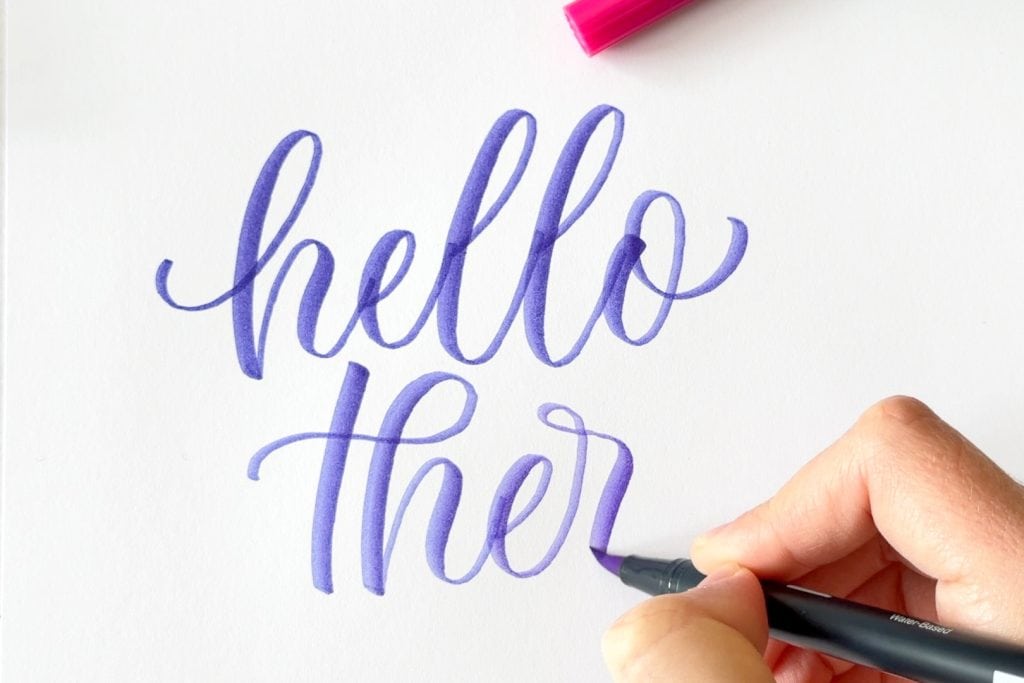
Now you can color or write on paper and watch the color change as you go!
Eventually the added color wears off and you’re left with the original pen color. (You can also scribble the pen tip clean on scrap paper if necessary.)
Because the pens are water-based, everything blends together and cleans off really well!
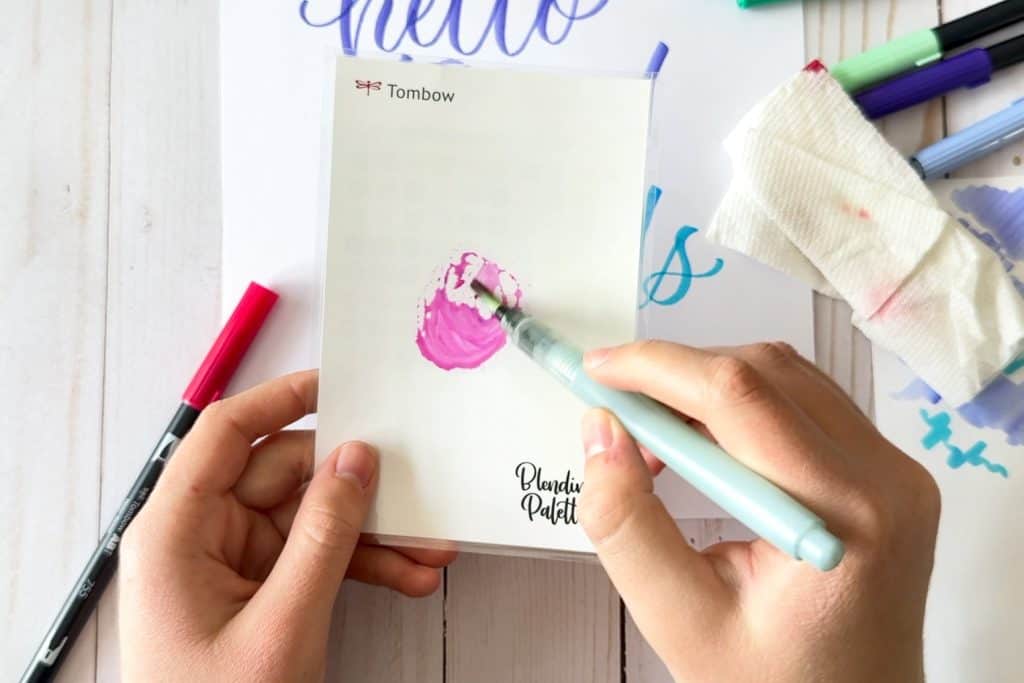
2. Scribble ink on a plastic surface or a dish
This super-easy trick is really fun for a color changing effect as you do brush lettering.
First, use a marker to scribble on a piece of plastic or a ceramic dish.
Then take a second marker and pick up the ink with the brush tip.
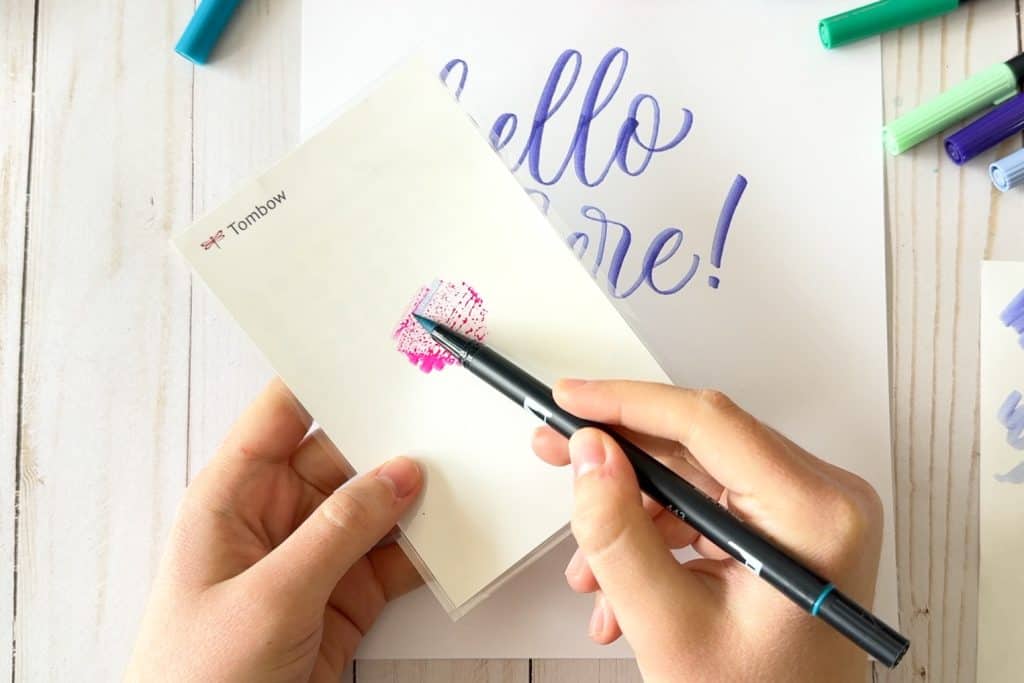
(I’m using the blending palette that comes with Tombow Dual brush pen sets, but you can even just use a plastic bag.)
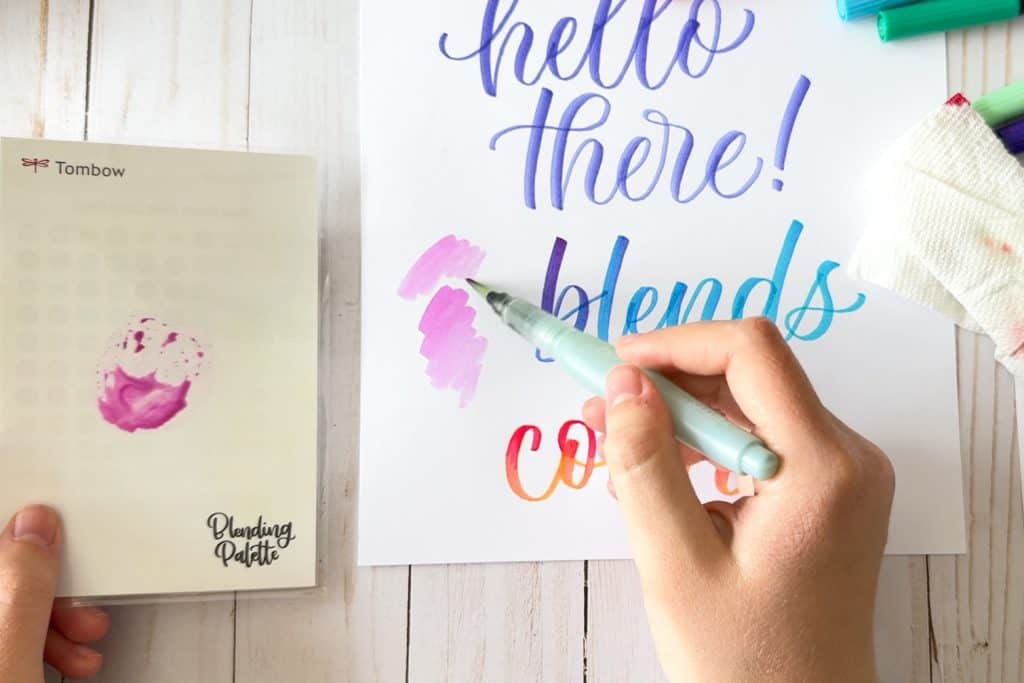
Now write or color! The two colors will blend beautifully on paper as you use the pen.
If you want the blend to continue for longer, keep picking up more of the secondary color with your marker as you go.
Of course, it always looks best if you choose two colors that go well together like pink and purple, blue and green, orange and pink, etc.
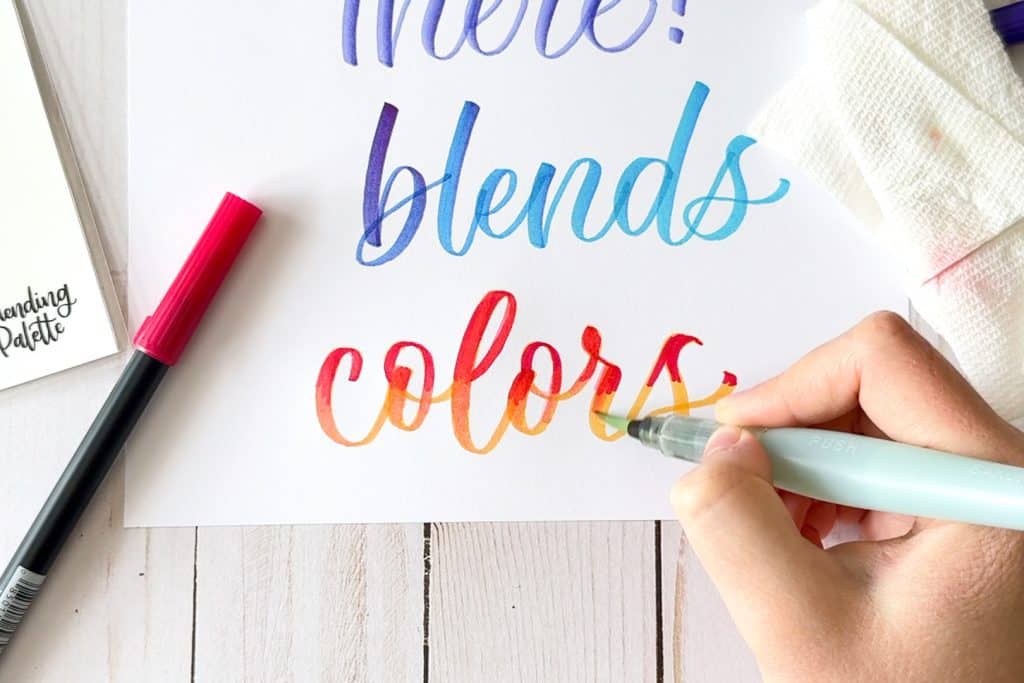
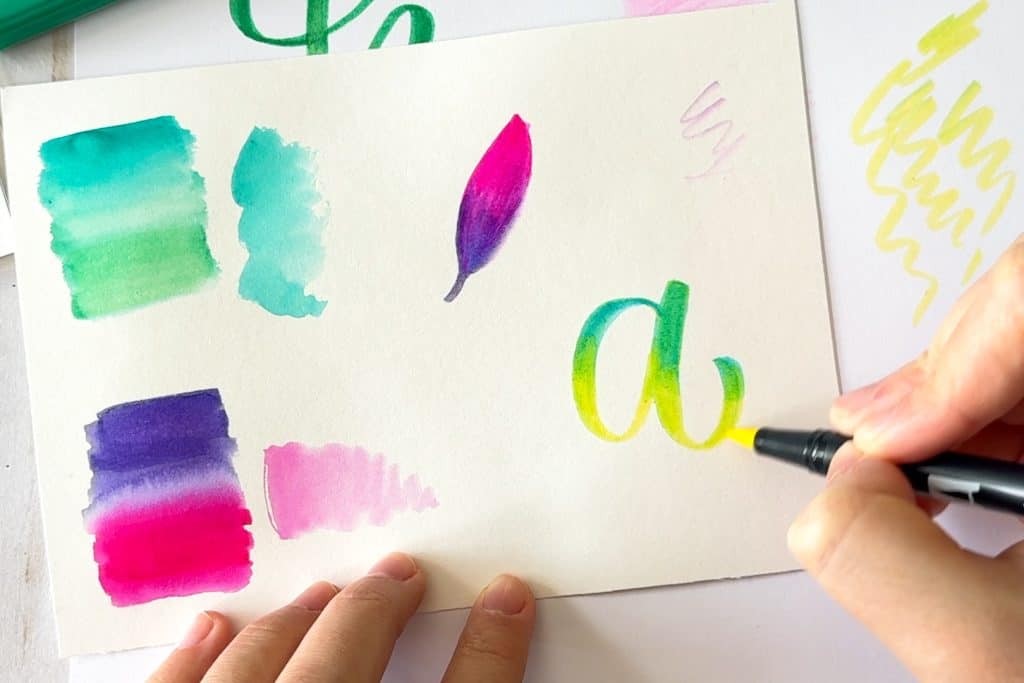
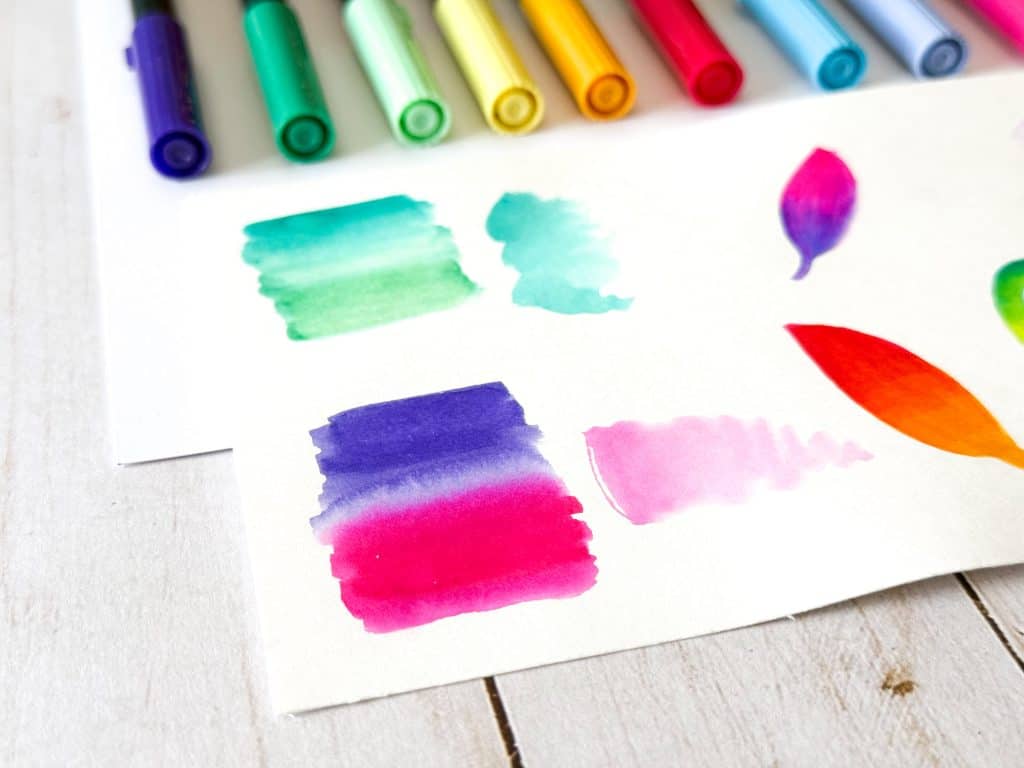
3. Blend with water
Just using plain water to blend marker ink works beautifully, too!
For this you’ll just need a small round paintbrush or a water brush.
Here are the steps:
- Get a paintbrush wet, then dab it on paper towel so it’s just moist.
- Use the moistened brush to smoothly blend colors on paper.
- After each section of blending, rinse the paintbrush and repeat.
The key is to keep just enough water on the brush to blend with, but not so much that it washes everything out.
That’s why I love using a water brush, because it automatically keeps the bristles moistened for you, which is perfect for blending!
Related read: How to Use Water Brushes
Another fun thing to do is to use water and a paintbrush to paint with the marker ink like watercolor.
Just scribble the markers on a palette or dish and add water!
You might also like: Paint an Easy Landscape with Watercolor Markers
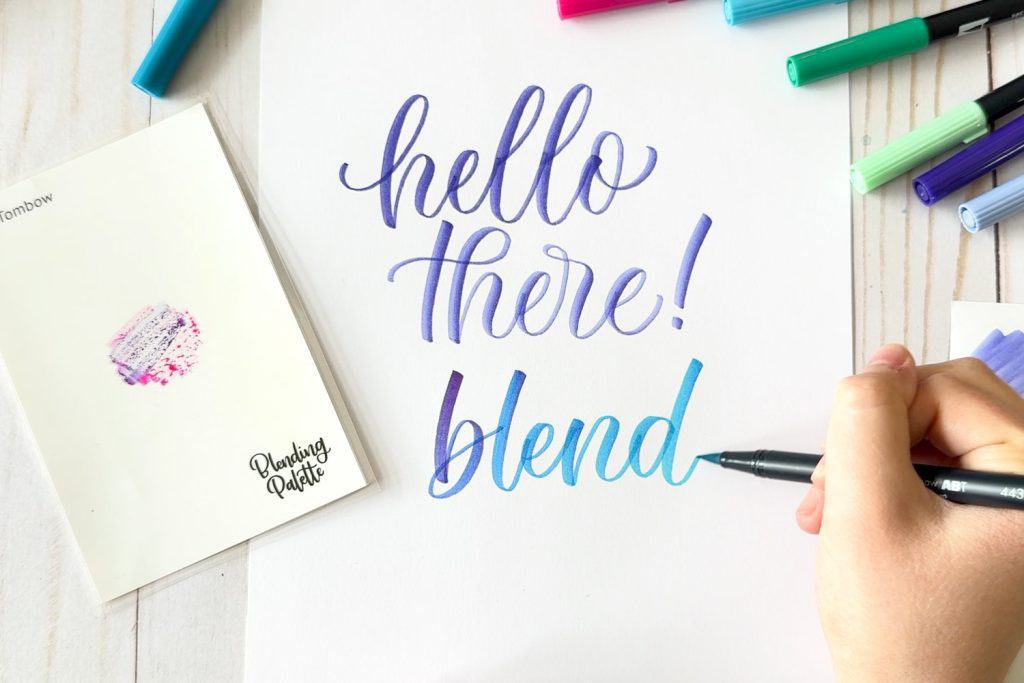
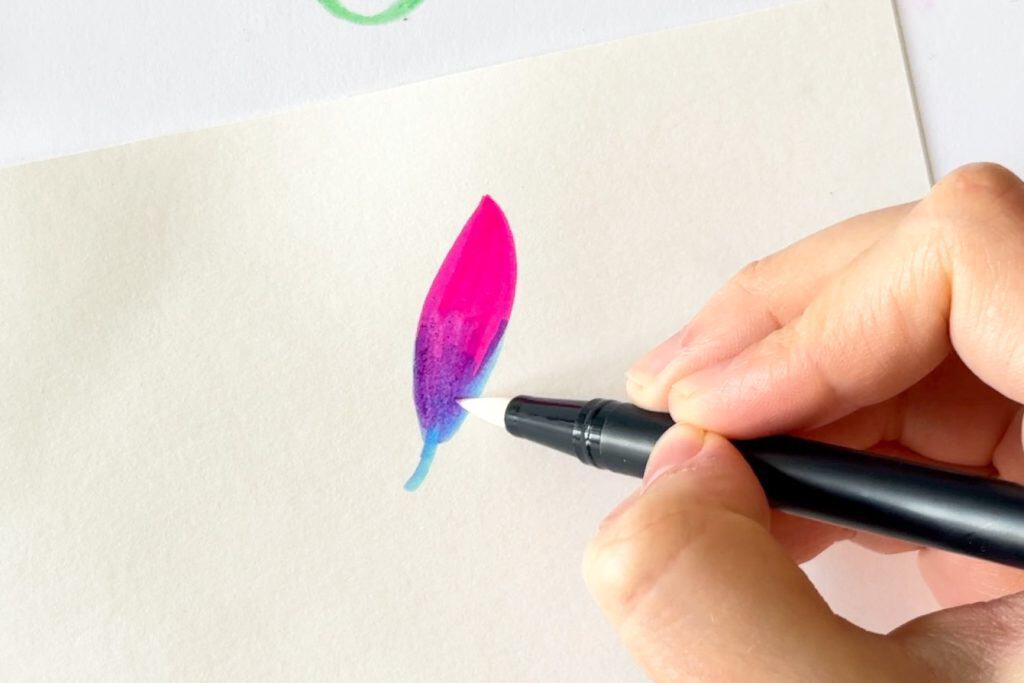
4. Blend on paper
With this technique, we use just the brush pens themselves to blend colors right on the paper.
You’ll need at least one light color and one darker color.
- Start with a layer of your lightest color.
- Then add in some of the darker color.
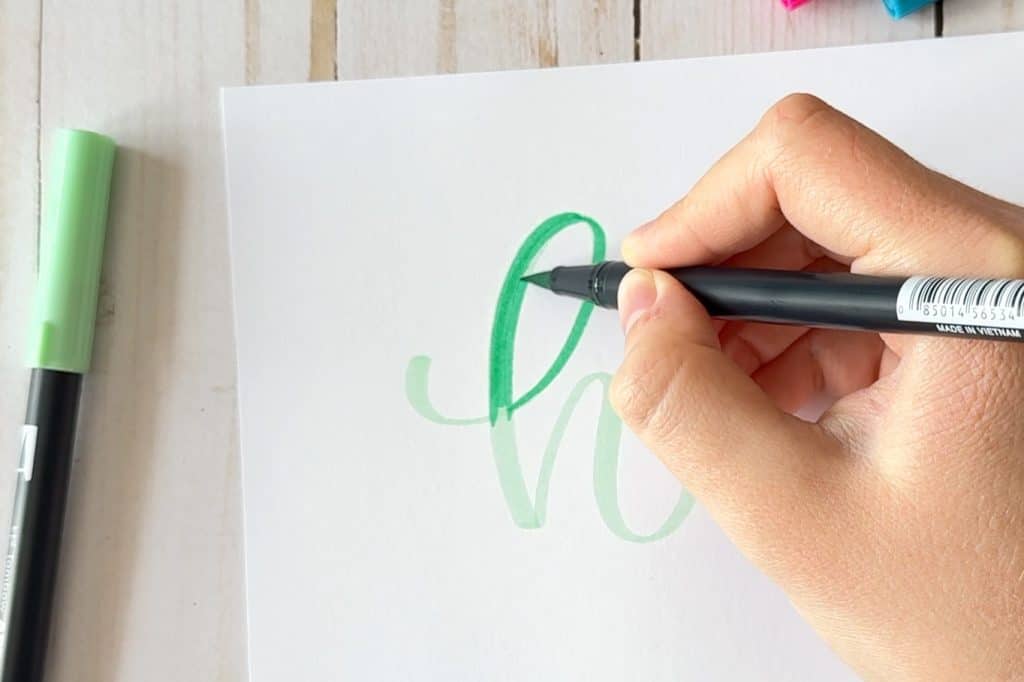
- Now switch back to the lighter color and blend the darker color in.
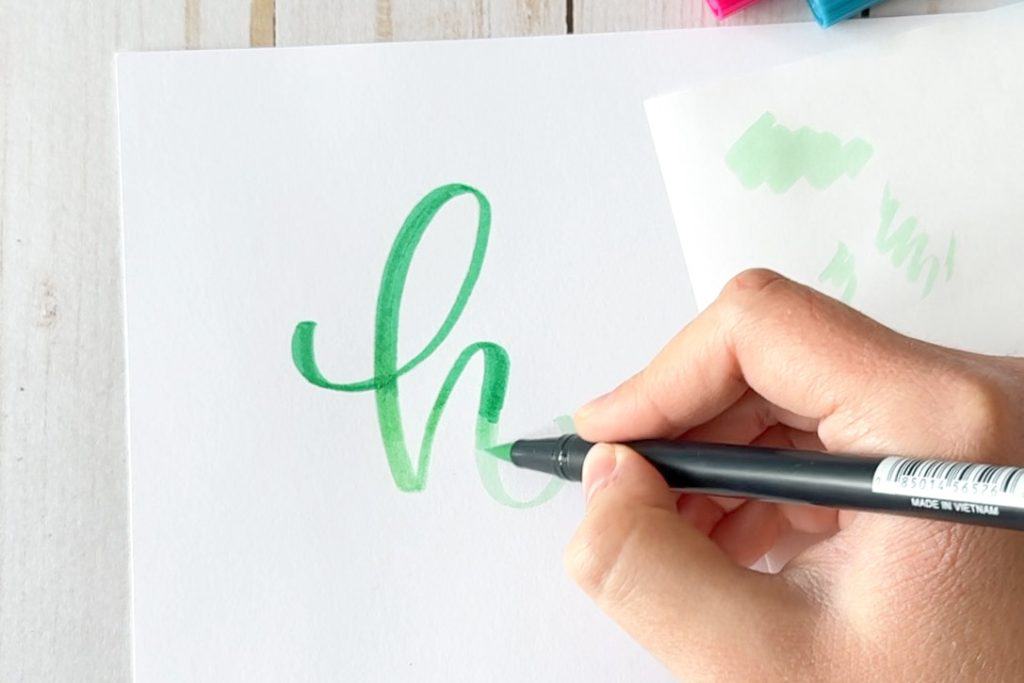
- Blend the colors together until it looks smooth. You may need to scribble your pen tip clean occasionally.
Make sure to do all this quickly enough so the ink is still wet, otherwise you won’t be able to blend it out as easily!
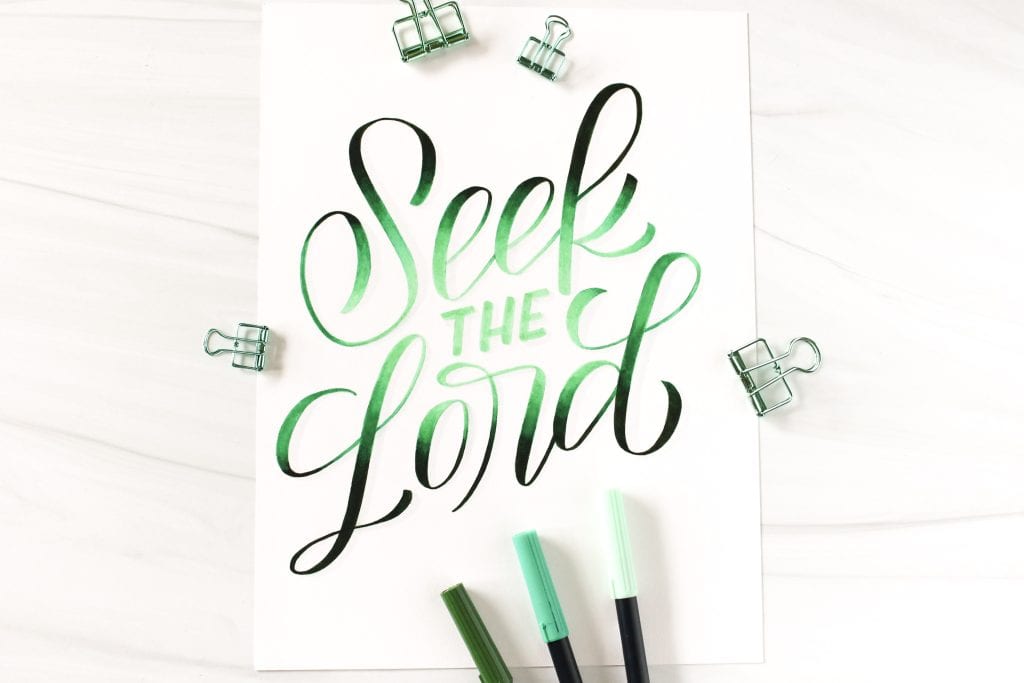
This is the same technique I use for my larger color-blended lettering pieces.
Although it’s a little more of a time-consuming technique, the resulting blends are really vibrant and beautiful!
160 lettering & watercolor art practice ideas
Feeling stuck in your art practice? This list of 160 quick and easy prompts will get your creativity flowing and help you start a habit of daily art practice that’s FUN instead of frustrating.
5. Use a colorless blender pen
Some marker sets come with a colorless blender pen that you can also use to blend colors.
A blender pen adds moisture and no color.
You can use a blender pen just like you would a wet paintbrush: color back and forth until the blending looks smooth.
Every so often you may need to clean the pen tip off on a scrap piece of paper if it has a lot of color on it.
For a fun gradient effect, you can also color the blender pen tip with another marker.
Then, as you color with it on paper, the added color will gradually wear off and leave with you a gradient, or ombré effect.

I don’t use blender pens much myself, because I find that they tend to make the paper pill and the blends look a little grainy.
But they are quick and easy to use, so give it a try and see what you think!
Best paper to use for blending markers
When you’re blending markers, the paper you use is a big deal because it determines how good the blends will actually look.
For smooth blends, you’ll want to use thicker paper that can take all the wet ink layers – especially if you’re using water.
Here are the papers that I use:
The problem with using the wrong paper for marker blending is that the paper pills up, you get marker lines that won’t blend out, and the blends won’t look very smooth overall.
So try to use thicker Bristol or watercolor paper whenever possible!
Related read: Best Paper for Brush Pens: A Complete Guide
What are water-based brush pens?
Water-based brush pens are ones that contain a water-based ink.
This means that the ink can be blended, reactivated, or diluted with water.
Probably most colored brush pens you come across are water-based, so they’re easy to find. Just check the packaging.
Here’s a quick list of my favorite brush pens that work really well for blending:
- Tombow Dual Brush Pens
- Karin brush markers
- Stabilo Pen 68 Brush pens
- Pentel Brush Sign pens (small size)
As I’ve shown, there are multiple different ways to blend with markers, and there’s no one right way.
One thing is for sure, though: you’re going to have a LOT of color-filled fun with these brush pen blending ideas!
Want to paint a beautiful landscape with your markers next? Try this tutorial!
(Pssst… you might want to save these ideas for later.)