
17 Must-Know Practice Tips for Calligraphy Beginners
Not sure how to practice calligraphy as a beginner?
These practice tips will help you practice your brush lettering smarter so you actually see progress in your work – all while still having fun!
1. Get to know your pen first
Don’t just buy a brush pen and start trying to write with it.
Get to know the pen first!
You’ll save yourself a lot of frustration by learning how to use a brush pen before you do anything else.
Figure out a comfortable grip, and do lots of warming up with doodles or other exercises.

2. Switch to a pencil if you’re getting frustrated with a pen
Sometimes it might feel like the pen just isn’t working for you.
It might not be the best brush pen for a beginner, or maybe you’re just not getting the results you want.
If that’s the case, just take the pressure off and switch to something easy like a pencil.
You can do calligraphy with a pencil just as you do with a brush pen, and it’s a lot of fun to do!
The best part is that it’s easier, and frees you from putting too much pressure on yourself.
Using a pencil is an excellent way to practice lettering.

3. Make it relaxing
Practicing can seem dull.
But what if you turned it into a relaxing, special time for yourself?
Here are some ideas of how you could do that:
- Clear your workspace
- Make yourself a cup of something you enjoy
- Light a candle
- Put on some relaxing music
- Use your favorite pens
- Romanticize everything
When you make a sort of creative routine for yourself, practice time becomes something you look forward to.
(For more on this concept, listen to The Power of Creative Routines by Valerie McKeehan. It’s a good one!)
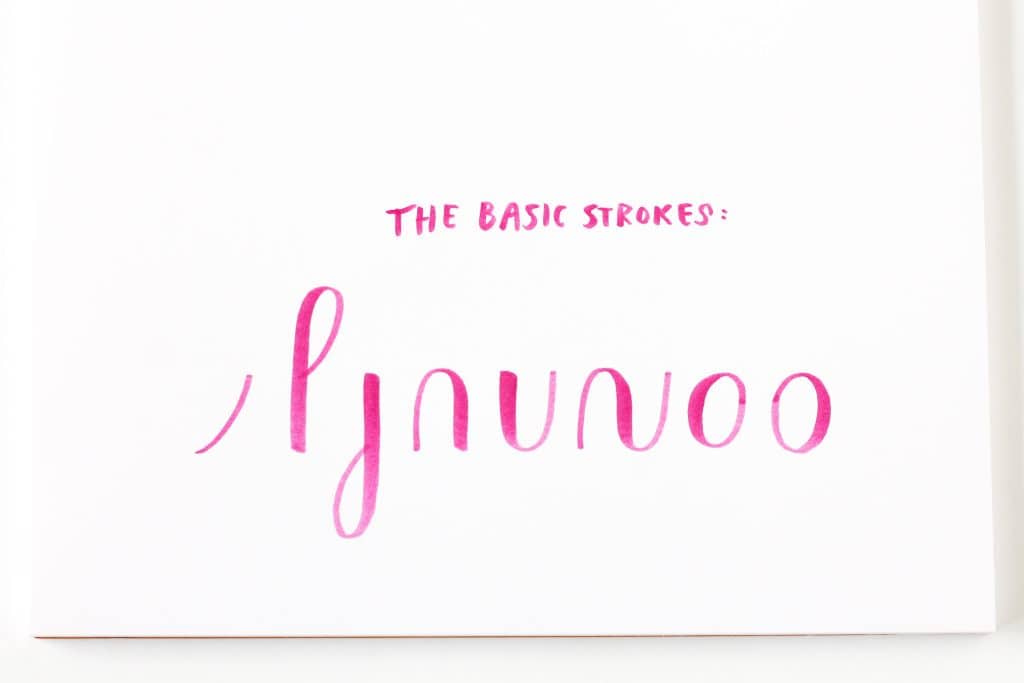
4. Practice basic strokes often
The basic calligraphy strokes are the building blocks of calligraphy letters.
So it makes sense to practice them a lot, particularly when you’re getting started!
Need to practice the basic strokes?
Grab my free printable worksheets with warmup exercises and basic calligraphy strokes to help you practice.
If you’re ever stuck on what to practice, going back to the basic strokes never hurts.
When you’re just beginning, it’s best to focus on just the basic strokes for a little while so you really master those.
It goes a long way in making your calligraphy look awesome.
(I did not practice the basic strokes nearly enough as a beginner, but I know I would have made progress a lot faster if I had!)
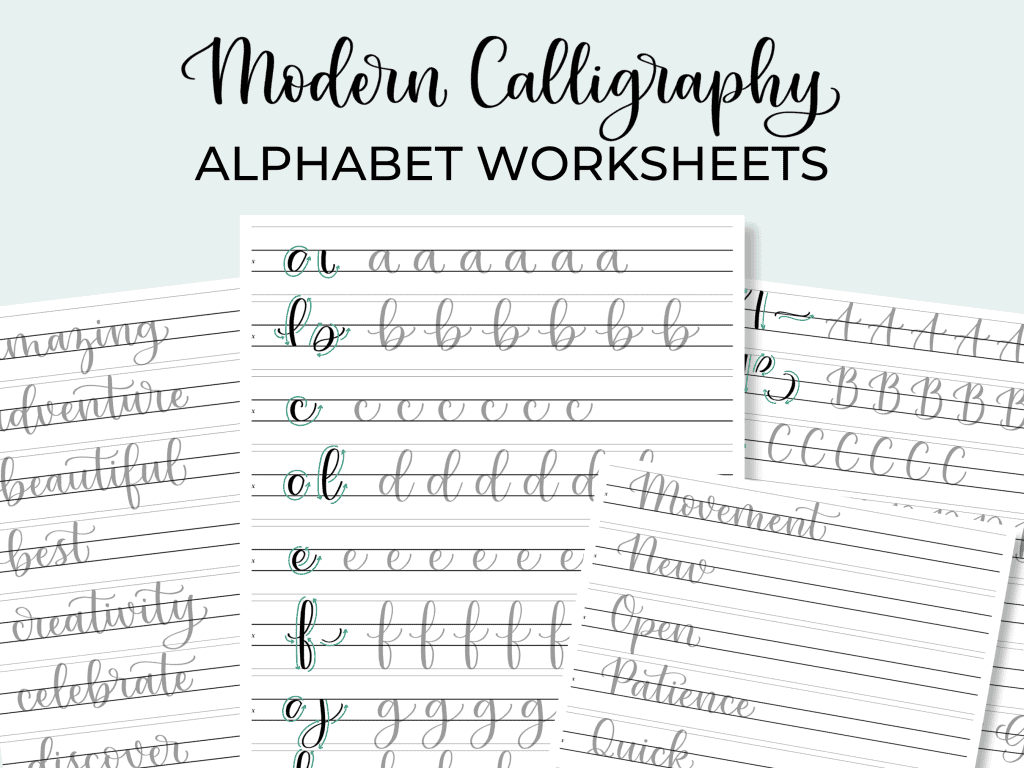
5. Use worksheets with traceable examples
The easiest way to learn and practice calligraphy is to use worksheets with traceable examples.
Having guides to follow is super helpful.
After you’ve traced examples for a while, you can start practicing the strokes on your own.
I like to use tracing paper or Canson marker paper over printed worksheets so I can use them repeatedly.
Check out the printable calligraphy worksheets in my shop to make practice easier for you!
Related read: How to Use Calligraphy Worksheets to Boost Your Practice
6. Practice with repetition
The #1 best way to practice calligraphy strokes is with repetition.
Don’t just practice a stroke or letter a few times and move on.
Practice that same thing over and over. Fill pages with that single stroke.
If you do that, you’ll be making waaaay more progress!
Why? Because repetition builds muscle memory in your hand.
When you practice strokes repeatedly, you’re training your hand to make those movements.
The result is that doing calligraphy becomes easier, smoother, and feels more natural.

I know this can be boring. But if you slow down and put on some music, I think you’ll find that it’s really relaxing.
7. Lift your pen after each stroke
When doing calligraphy, it’s important to lift your pen (unlike cursive, where you hardly lift your pen from the paper).
It’s generally best to lift your pen from the paper after you write each individual stroke.
See the breakdown of the strokes that make up lowercase letters below.

The reason we lift up our pen from the paper is so we can readjust and make sure each stroke is neat.
This results in much neater writing than if we were to drag the pen along through every letter without ever taking a pause!

(To be honest, I don’t always lift my pen up for every stroke anymore, but that’s because I feel really comfortable with writing the letters. If I need to be really neat, I do take breaks frequently 🙂 )
8. Take a picture of your work for a different perspective
We’ve all had the problem of being so close to our work that we can’t see a different perspective.
You sit back from your calligraphy and feel disappointed that it doesn’t look that great, even though you worked so hard on it.
Here’s a quick fix.
Take a picture from above your work (not too close), and look at the picture instead.
You can even edit the picture and increase the brightness and contrast.
Most of the time, you’ll realize your calligraphy looks pretty good when you look at it from a different perspective!

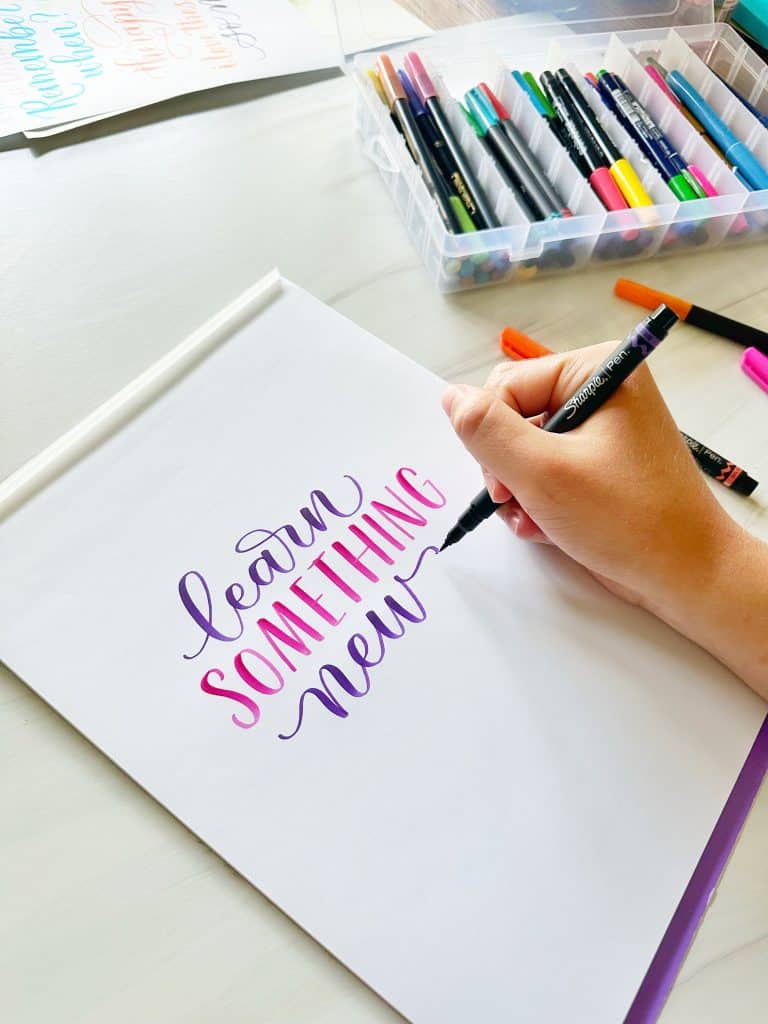
Learn how to write like this in my online course.
9. Go slowly
I’m sure you’ve heard this before.
But slowing down is important when you’re doing calligraphy!
The fact is that you can be much neater and more intentional when you’re going slowly.
Calligraphy is not a fast writing method (that’s what cursive is supposed to be for!).
So instead of rushing it, try to slow down, focus on each stroke, and enjoy the repetitive movements.
Related read: Handwriting vs Calligraphy: What’s the Difference?
10. Focus on one thing at a time
There’s so much you can learn in the calligraphy/lettering world.
You want to be able to do everything – try all the pens, learn all the techniques and styles.
Maybe you want to learn flourishing, learn a bouncy calligraphy style, try a new kind of pen, or learn composition.
The only problem?
You’ll go crazy if you try to learn everything at once!
Focus on one thing at a time.
Master one thing, then add something new.
11. Date your work
Okay… I know this might seem like something that hardly matters.
But let me tell you: you will thank yourself later when you put the date on your practice pages!
At some point, you will look back and feel so incredibly good at how far you’ve come.
The best way to measure that progress?
Add the date, and save at least some of your early practice work!
12. Compare yourself only to your previous work
It’s so tempting to go online, look at other lettering artists’ work, and start comparing.
Suddenly you feel discouraged about where you’re at, or feel like it’s no use trying to get better.
We’re all guilty of this. (Me included.)
But here’s the solution:
Only compare your work to your work.
It only makes sense to compare your current calligraphy work to where you were previously.
Not to someone else’s work who’s been doing it for longer than you have!


13. Only move on to the next step when you feel ready
There are about six steps to learning brush calligraphy.
Learn exactly what those steps are in this guide.
It’s easy to try to rush through the list and start writing full words or capital letters before you’re actually ready.
How do you know when you are ready to move on to the next step?
When you feel really comfortable with writing the basic strokes, for example, then you’re ready to move on to writing lowercase letters.
Take time to really practice each new thing before moving into the next.
14. Use guidelines
Using guidelines is a MUST for neat, consistent calligraphy.
There’s really no point in trying to write without them until you’ve been practicing for quite a while.
You can use lined paper, grid paper, dot paper, or calligraphy worksheets for guidelines.
Rhodia paper is a great option because the paper is very smooth and you can choose from blank or lined paper.
Or you can check out the calligraphy worksheets in my shop.

Related read: 3 Important Things to Check For When Doing Calligraphy
15. Start by warming up your hand
It’s a great idea to warm up your hand before you start doing brush lettering.
Of course, if you’re just practicing, this doesn’t matter as much as it does when you’re doing an important piece of artwork, but it’s still beneficial.
All you need to do to warm up your hand is to do some simple warmup exercises.

Upstrokes, downstrokes, loops, and swirls are quick ways to get warmed up to do calligraphy.
16. Don’t worry about practicing for a certain amount of time each day
You may have had someone tell you that you need to practice calligraphy for a certain amount of time each day.
And while that is a great thing to do, and will help you make progress much faster, I don’t think it’s something to worry about.
When I was learning calligraphy, I didn’t do this. I mostly just practiced when I felt like it!
If practicing daily works for you, then by all means do it and you’ll likely get good at calligraphy much faster.
If not, just practice when you can and you’ll still be making progress!

17. Never lose the element of fun!
If you’re like me, much of the reason you started doing calligraphy is because it’s a fun hobby.
There are many benefits of learning calligraphy, but to me this is one of the most obvious ones!
Colorful new pens, a fresh pad of paper, writing things all pretty… what’s not to love about that?
The problem is, when you focus too hard on getting everything “right” and put a lot of pressure on yourself to be perfect, that takes the fun right out of it.
So here’s a reminder for you:
Your calligraphy doesn’t need to be perfect.
You don’t have to do everything “just right.”
You don’t have to do what everyone else tells you to do.
Just have fun and enjoy learning!
Save these tips for later and share them with a friend ⬇️

